How do I setup my game manager?
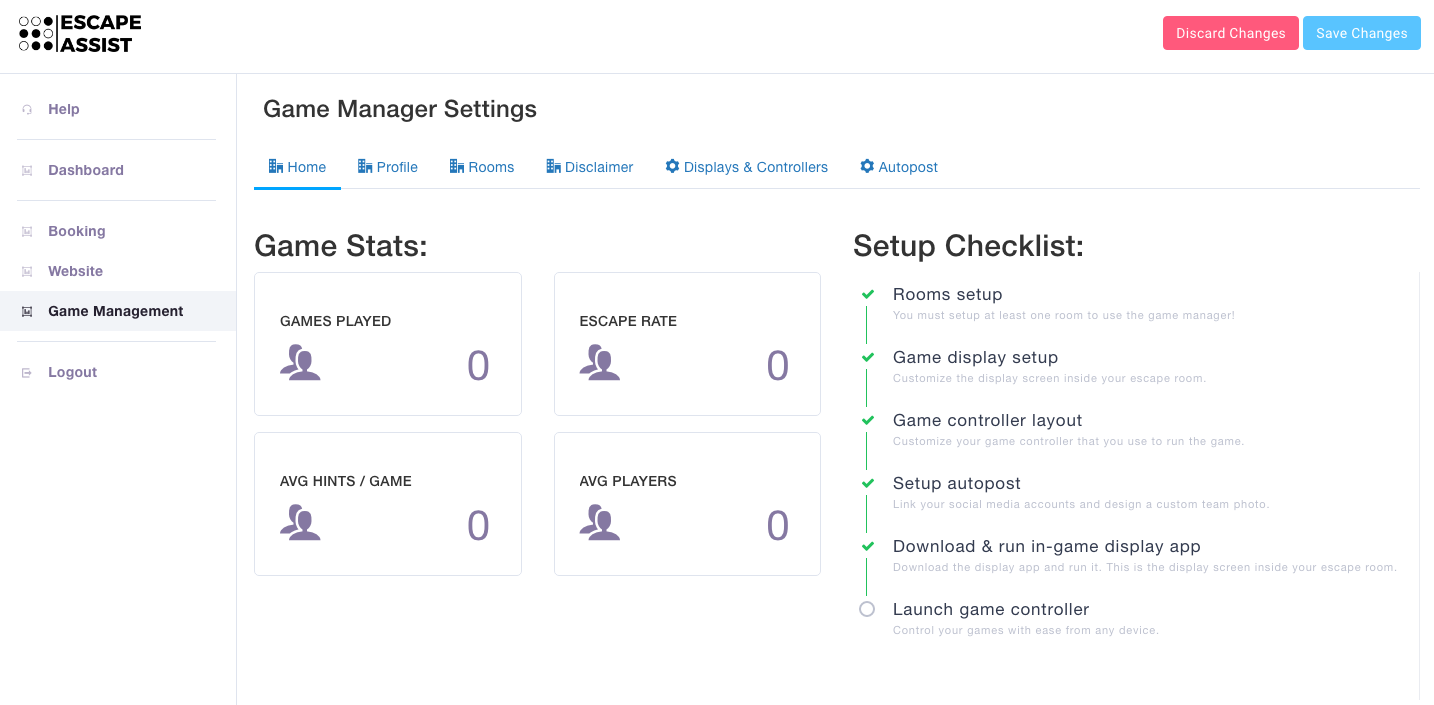
1) Under the Game Manager tab you will first see the Game Manager Settings, Home section. On the left you will see game management statistics such as games played, average escape rate, average hints per game, and average number of players. On the right you can monitor your setup progress using the “Setup Checklist” and add any missing information that is required. Check out and fill in the sections left to right, and remember to "Save Changes" as you go.
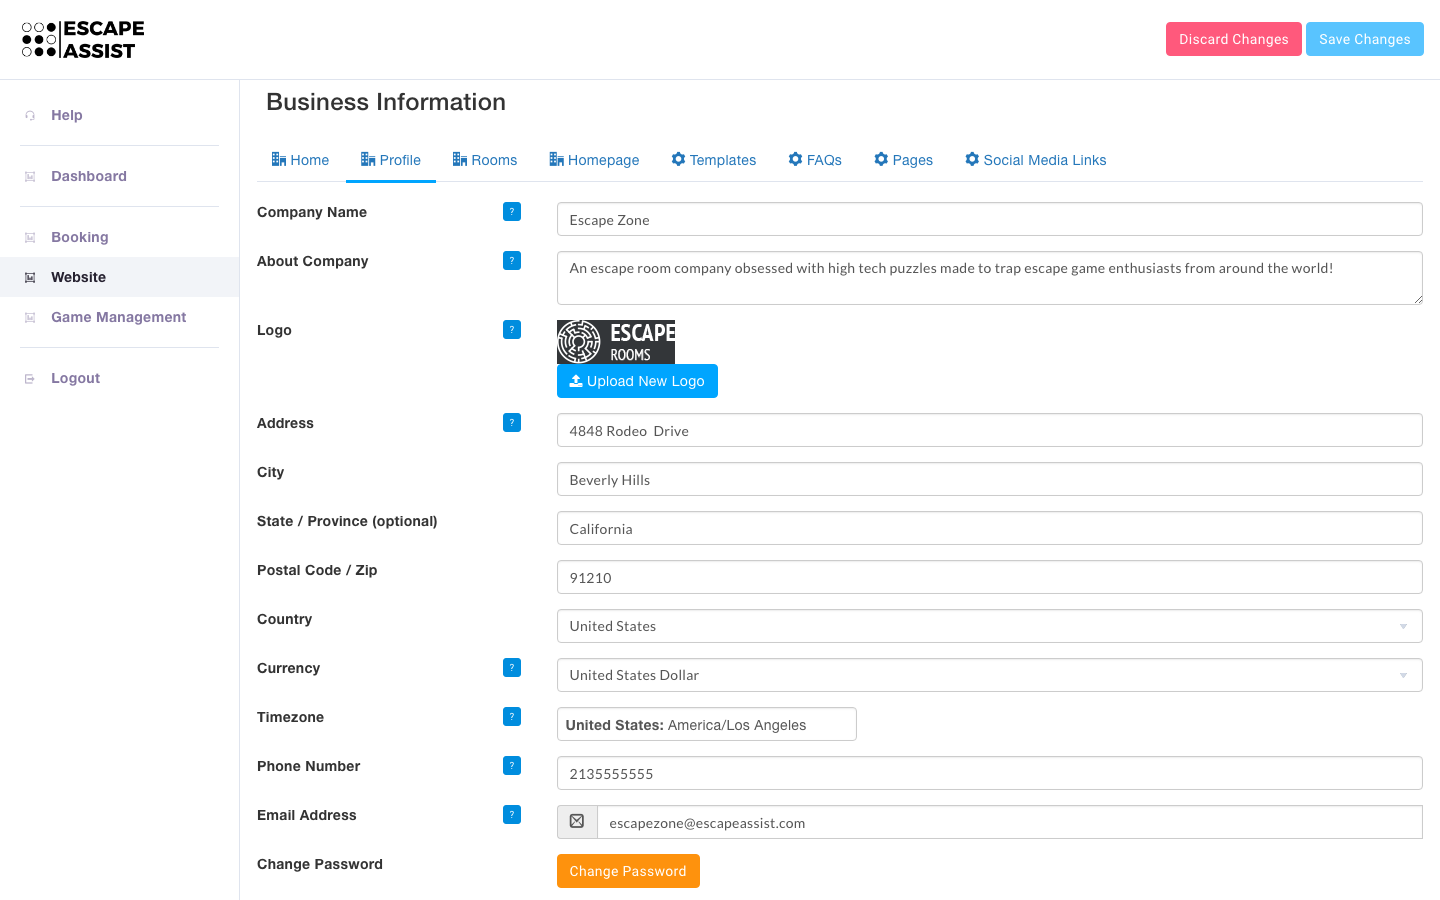
 2) Next is the Profile section---it may already be complete if you filled it out setting up your booking system or website. If not, proceed to fill out the required information about your escape room company including logo, address, and currency preference.
Please note, information added/modified here will be changed in the Booking and Website portions of EscapeAssist as well.
3) Next is the Rooms section---it may already be complete if you filled it out setting up your booking system or website. If not, go ahead and add each room you operate by clicking the “Create Room” button. You can enter specific information about each of your themed rooms. You will need to input details such as room name, description, number of players, price, game length, hours, etc. We have even included drop down boxes to specify how you charge your customers (by room vs. by player) and what you charge for different types of players (e.g. adult, child, senior).
Please note, information added/modified here in the Rooms section will be changed in the Booking and Website portions of EscapeAssist as well.
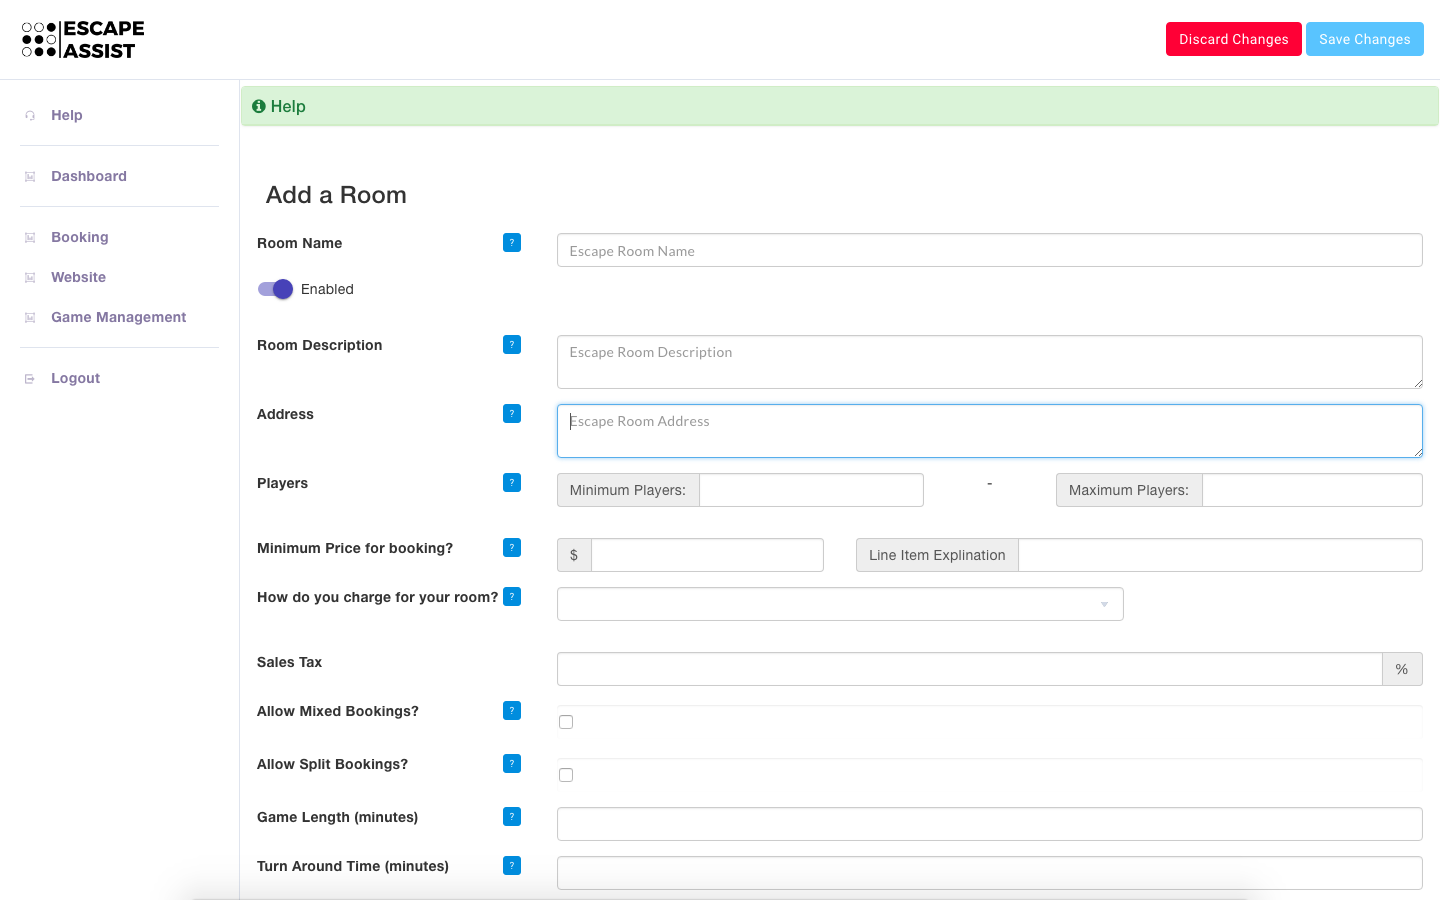
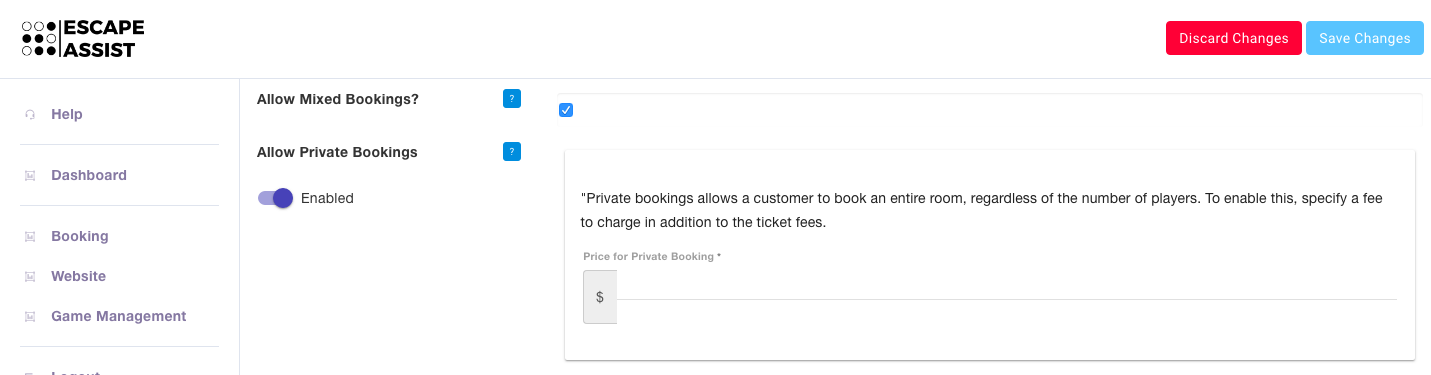
In this section, you can also choose to use (or not use) some of EscapeAssist's unique booking features. For example, you can also choose to have 1) only private rooms, 2) "Allow Mixed Bookings" (which means players may be teamed up with strangers) or 3) "Allow Private Bookings" with an extra fee.
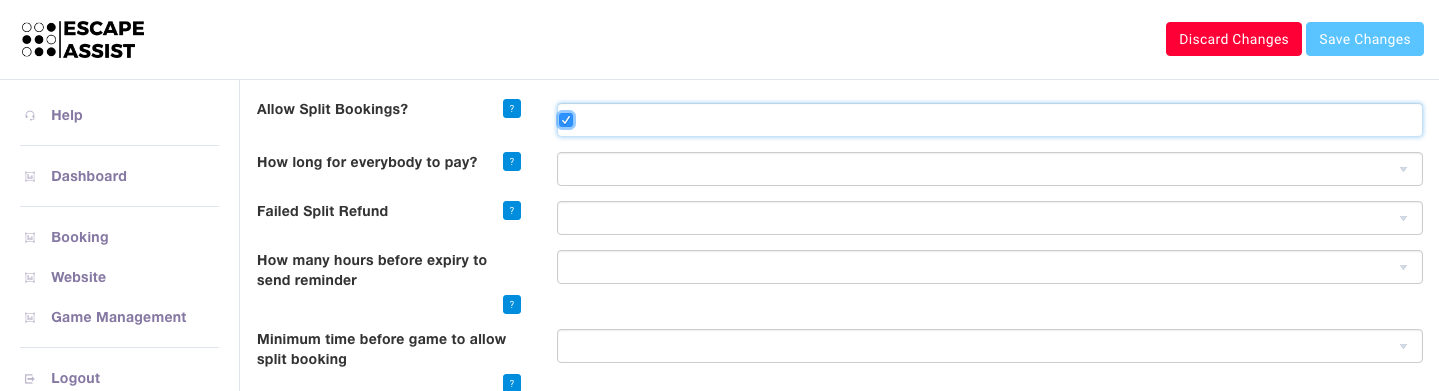
You can choose to "Allow Split Bookings"---rather than one player paying for the whole team, he/she can split the booking and have each member of the team pay their own share. Each player is sent a unique payment link to pay their portion, and the lead booker receives updates of who still needs to pay. You need to decide how long you are willing to hold the room open while you wait for all team members to pay, how much of the lead booker's deposit you will return if the entire team fails to pay, when to send split booking reminders, and how far in advance of a game you will allow split bookings.
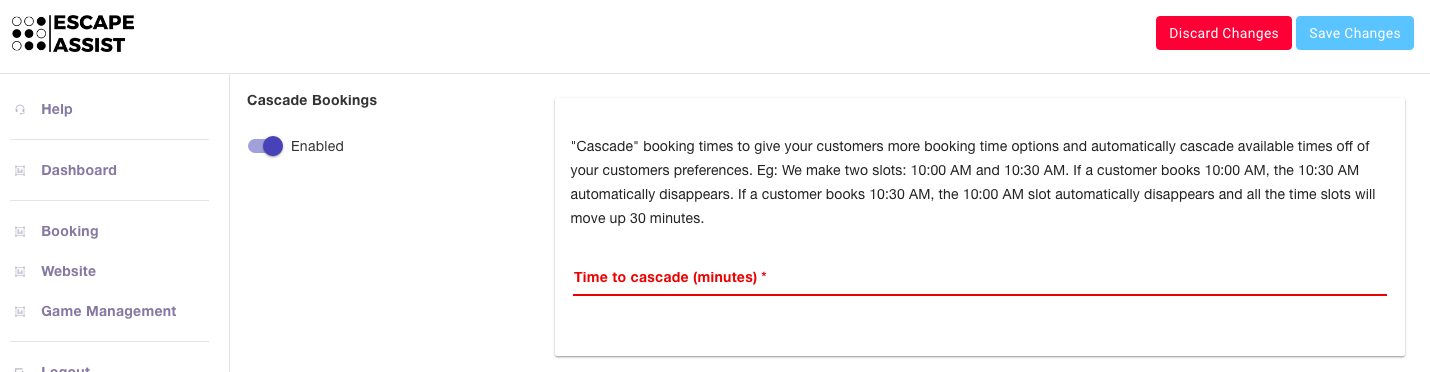
Another option is to "Cascade Bookings." This feature gives your customers more booking time options because it automatically cascades available times based on a customer's preference. Rather than forcing players to book at 1:00, 2:00, 3:00, etc. We can offer slots at 1:00, 1:15, 1:30, etc. and depending on what the player books we automatically shift your schedule accordingly.
Eg: You make two slots: 10:00 AM and 10:30 AM. If a customer prefers to book the 10:00 AM, the 10:30 AM automatically disappears. If a customer books 10:30 AM, the 10:00 AM slot automatically disappears and all the time slots will move up 30 minutes. You simply need to set your desired "Time to cascade."
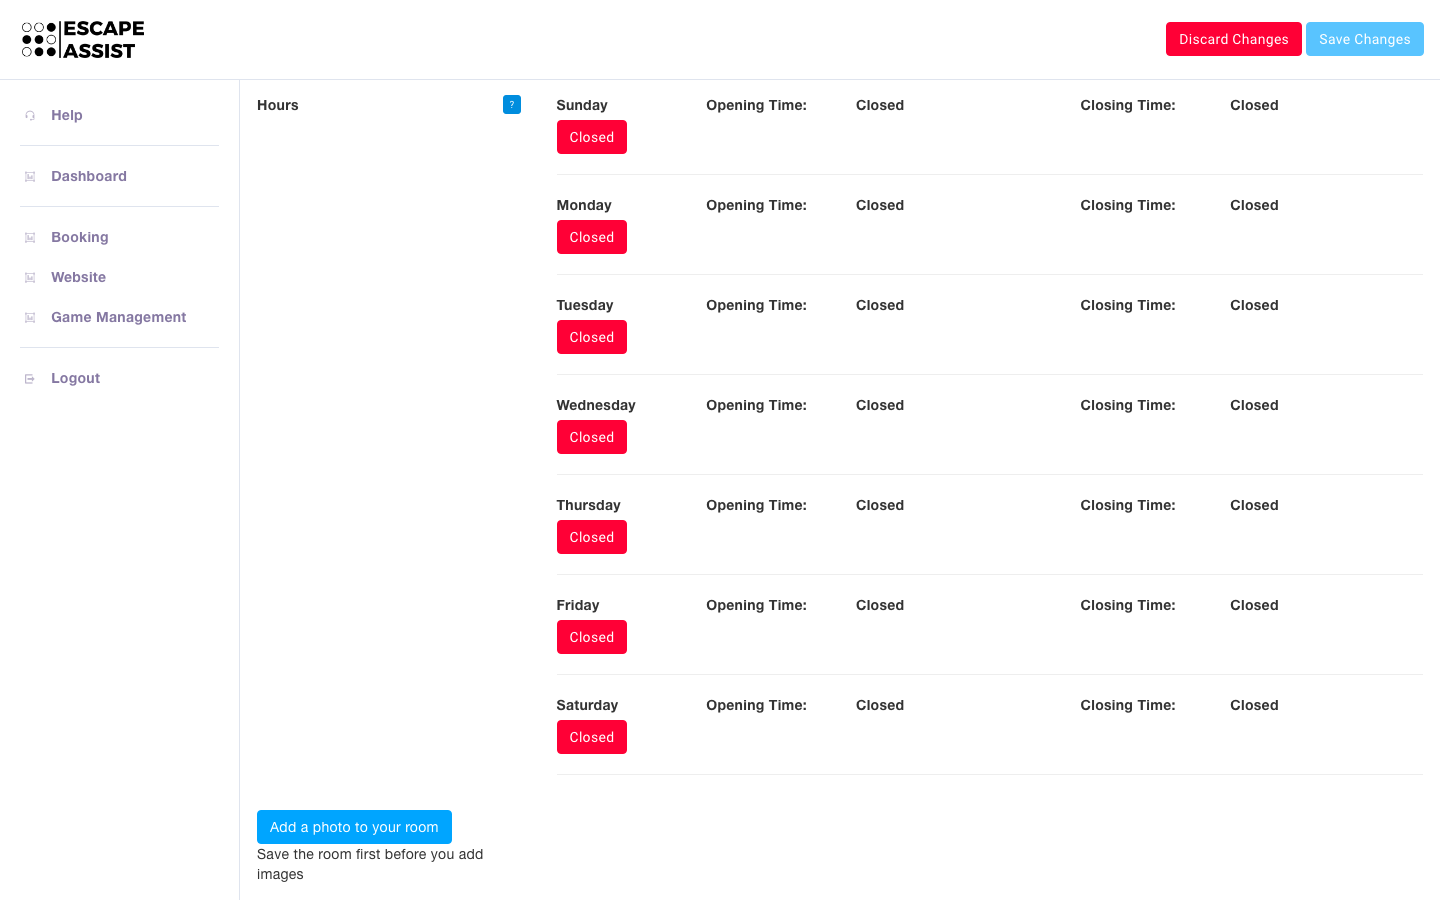
Next, you need to fill in the hours that your room is open each day, and we will automatically optimize your schedule with appropriate slots.
Finally, save your changes to your Rooms section, and then put the finishing touch by adding a photo of your room.
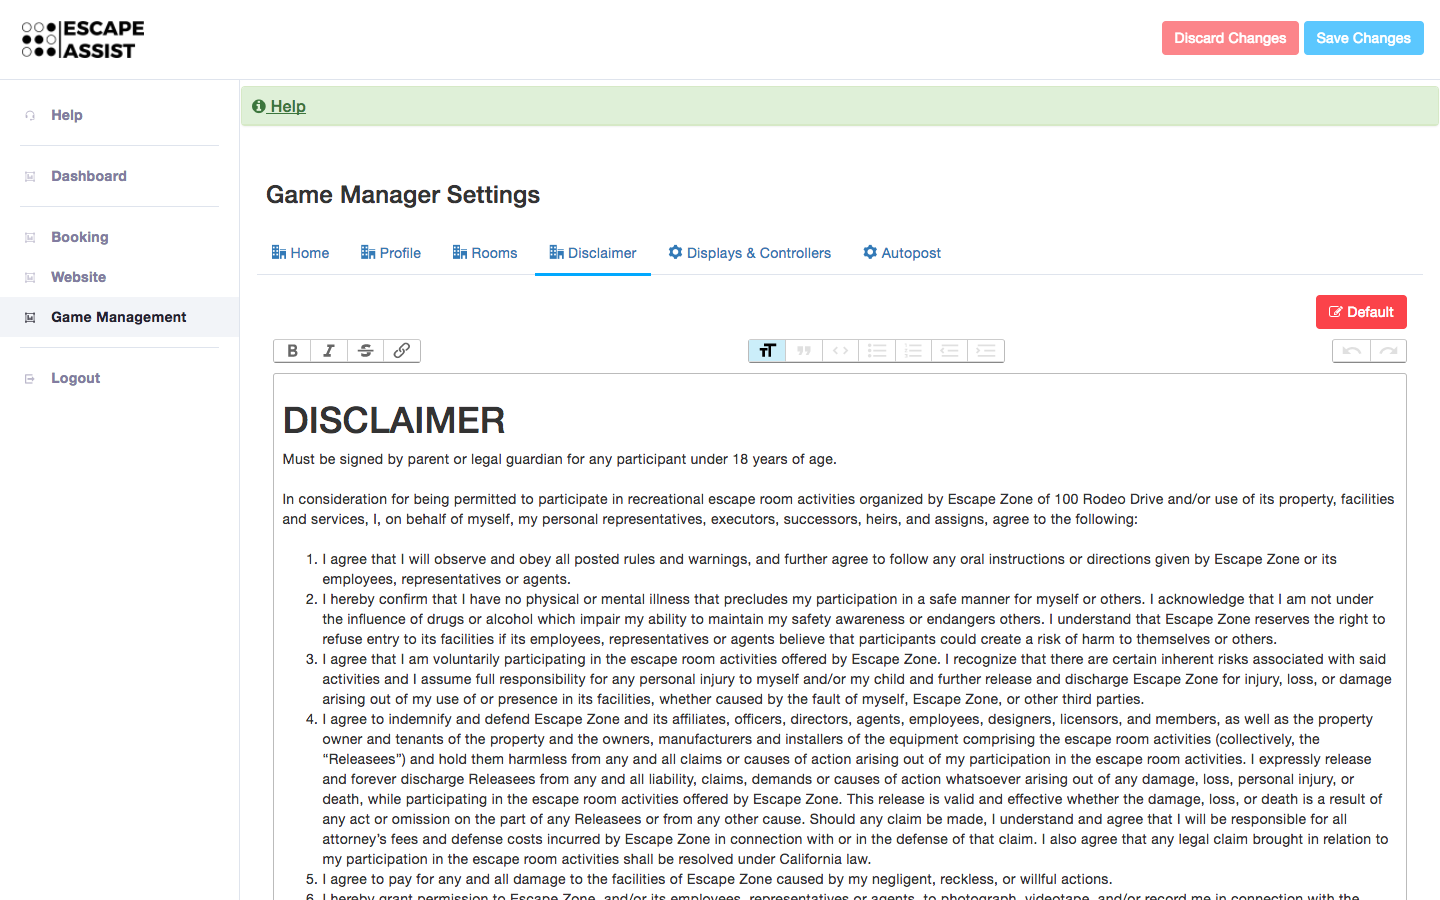
4) In the Disclaimer section you can customize your disclaimer. Your business information from the Profile tab has been automatically inserted into our pre-written disclaimer. You can customize the text as you like, and once you hit the "Save Changes" button the disclaimer can be opened later in EscapeAssist’s Game Manager tablet app for players to read/sign it.
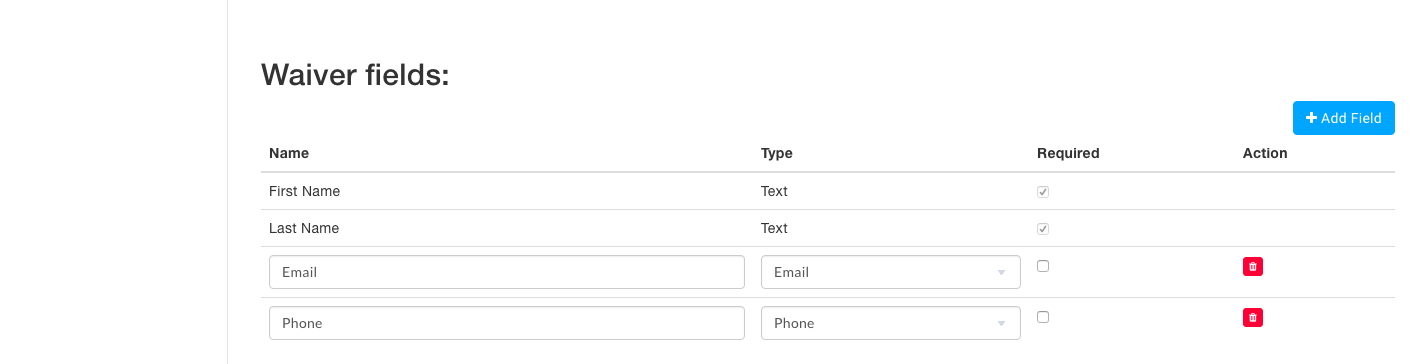
You can also choose to include custom fields for players to fill out before signing the waiver. For example, in addition to their name you may ask players to provide a phone number or email address.
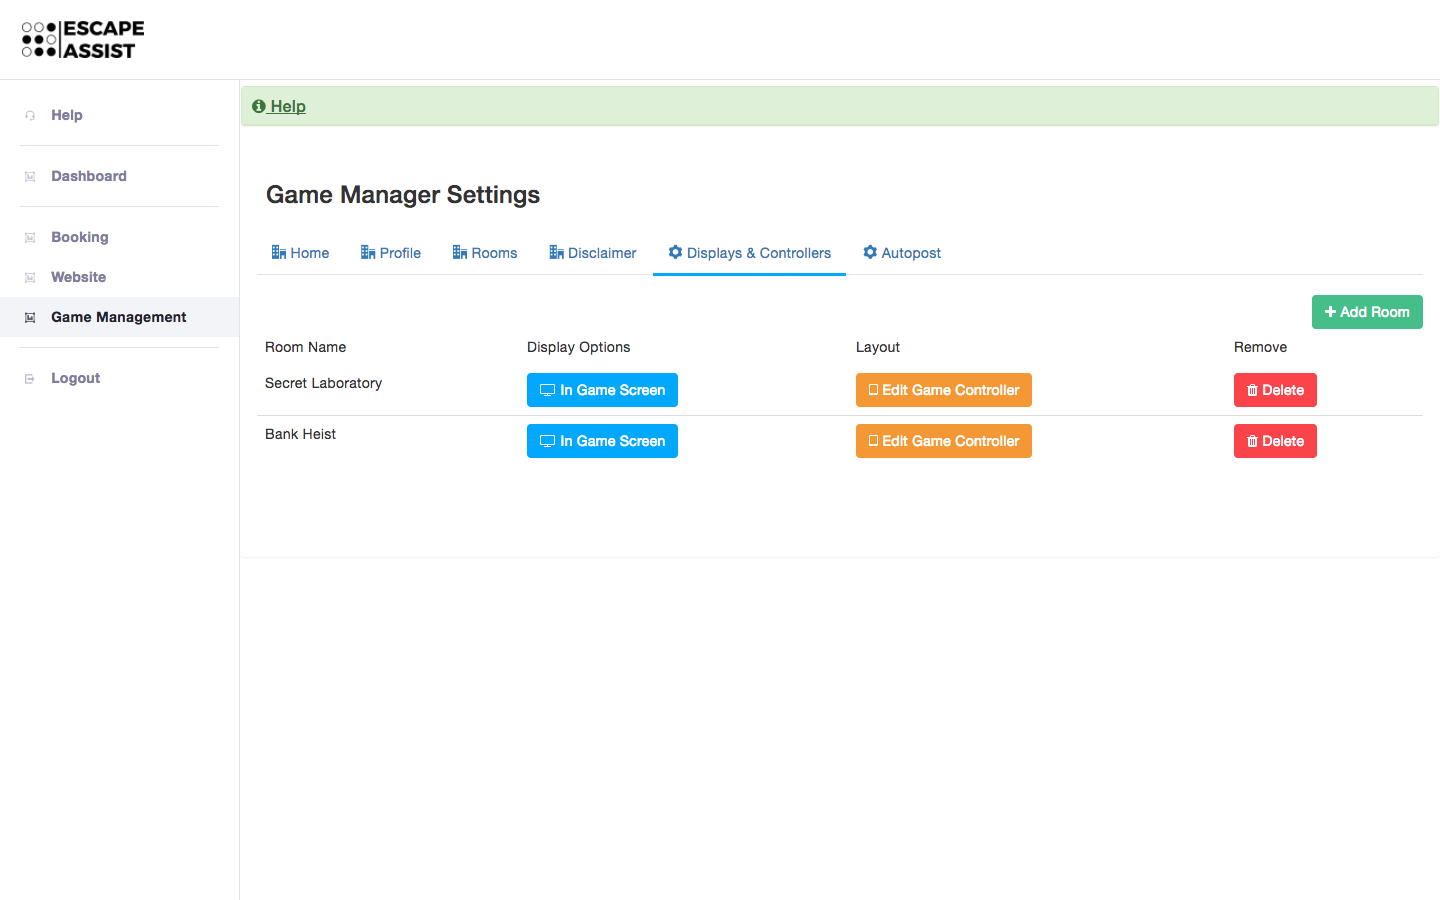
5) In the Displays & Controllers section. Start by clicking the ”Add Room” button and you should see the room(s) you added in the Rooms section. You can now design your in game display screen (the screen inside the escape room that players see) and the layout of your game controller (the control panel you use to run the game).
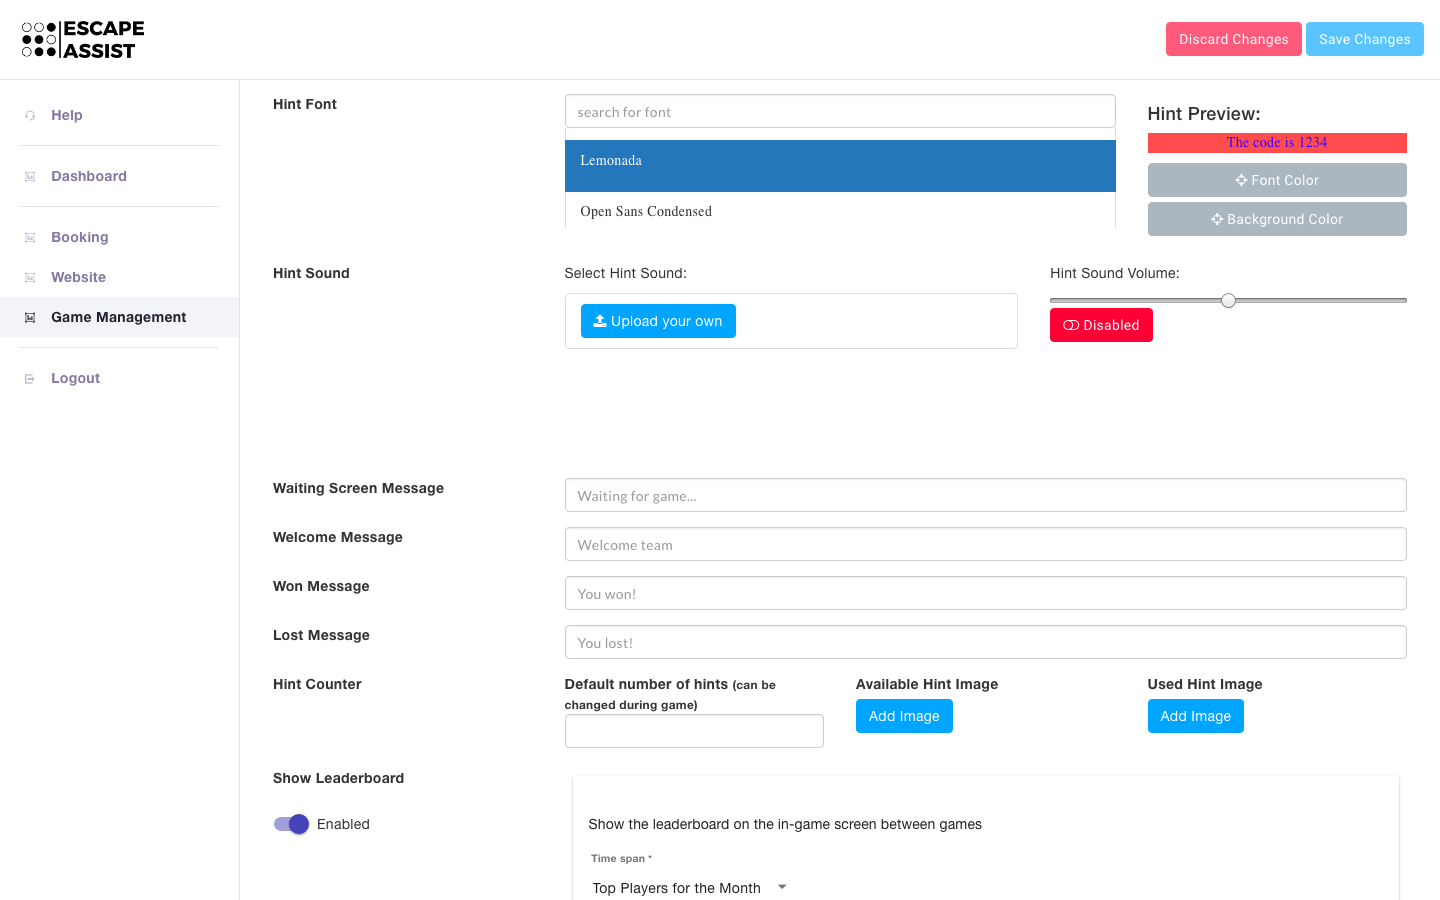
Start by choosing your Display Options for your "In-Game Screen." You can personalize the “Look and Feel” of your display screen by choosing/uploading background music, a background image, and timer/hint fonts.
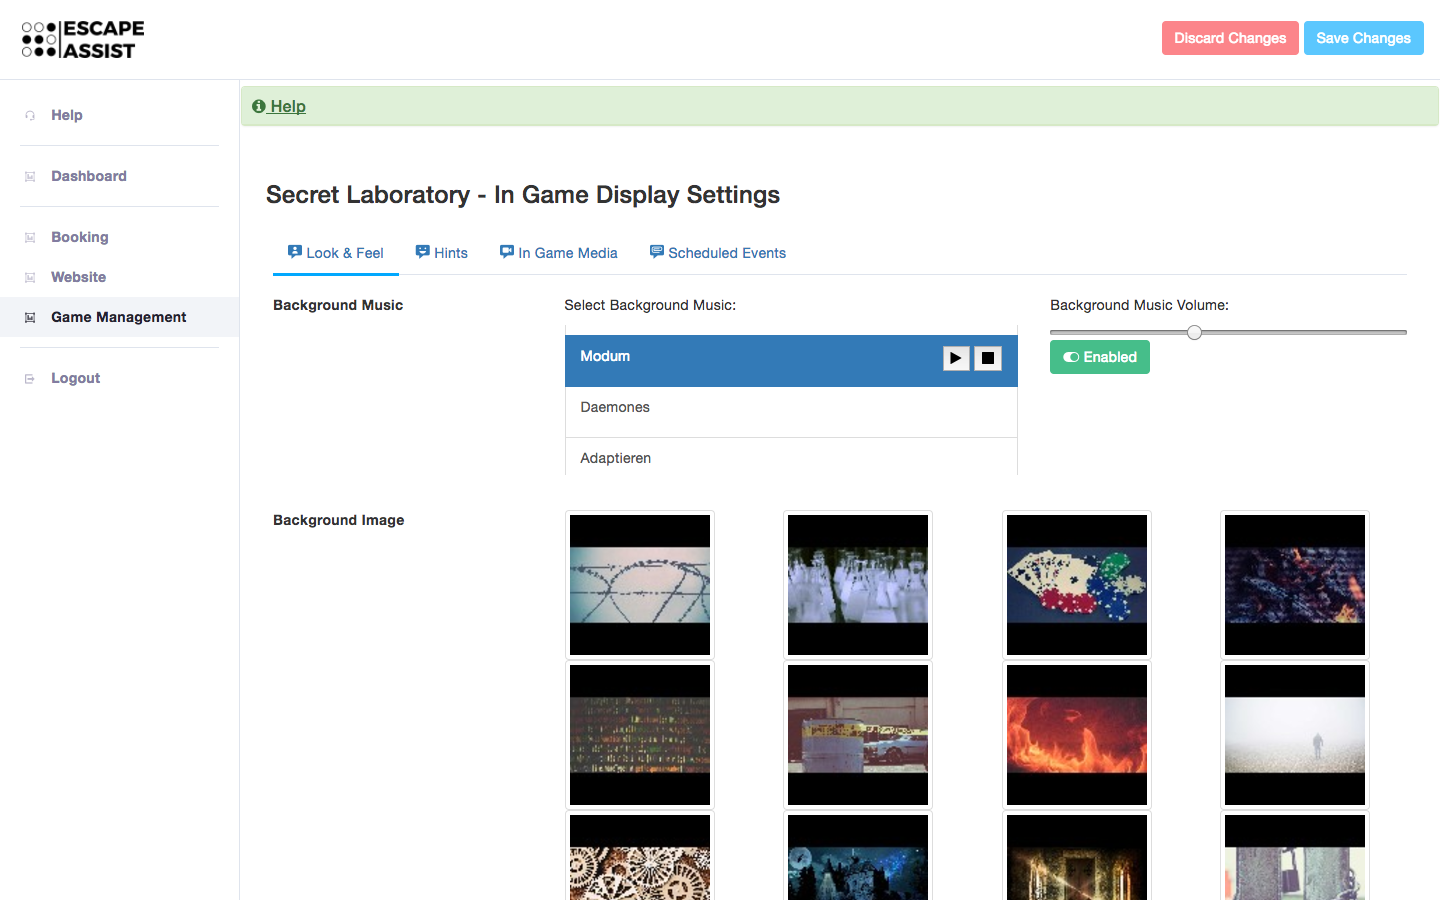
You can also create custom messages to appear on the screen, manage your hint usage, and choose to display leaderboards between games.
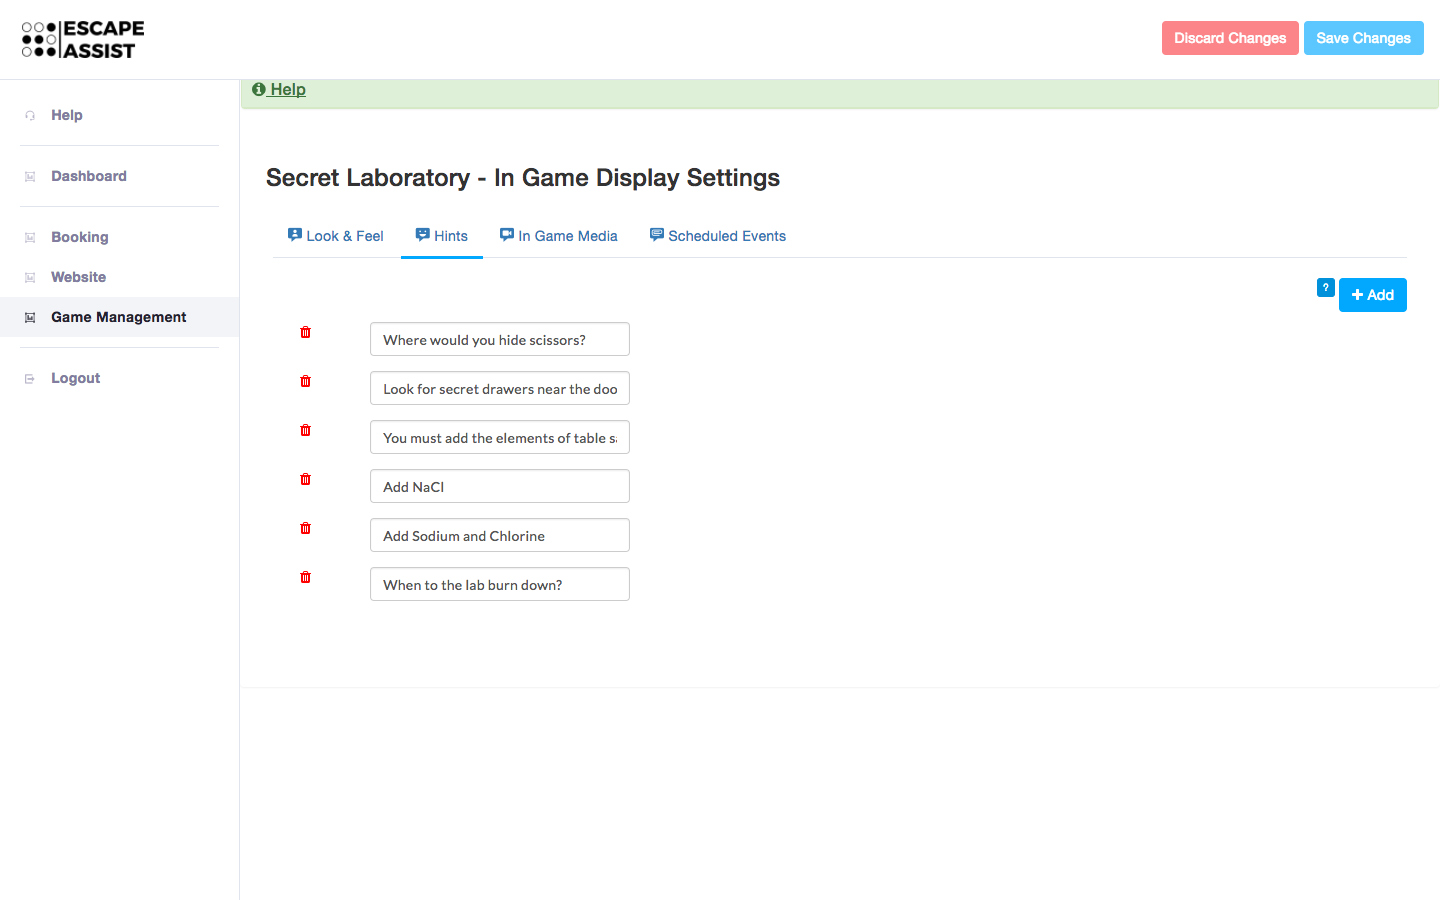
In the “Hints” area you can add hints of varying difficulty using the “Add” button. The pre-loaded hints can be sent to players with the touch of a button. However, you may also type in/send hints manually during a game.
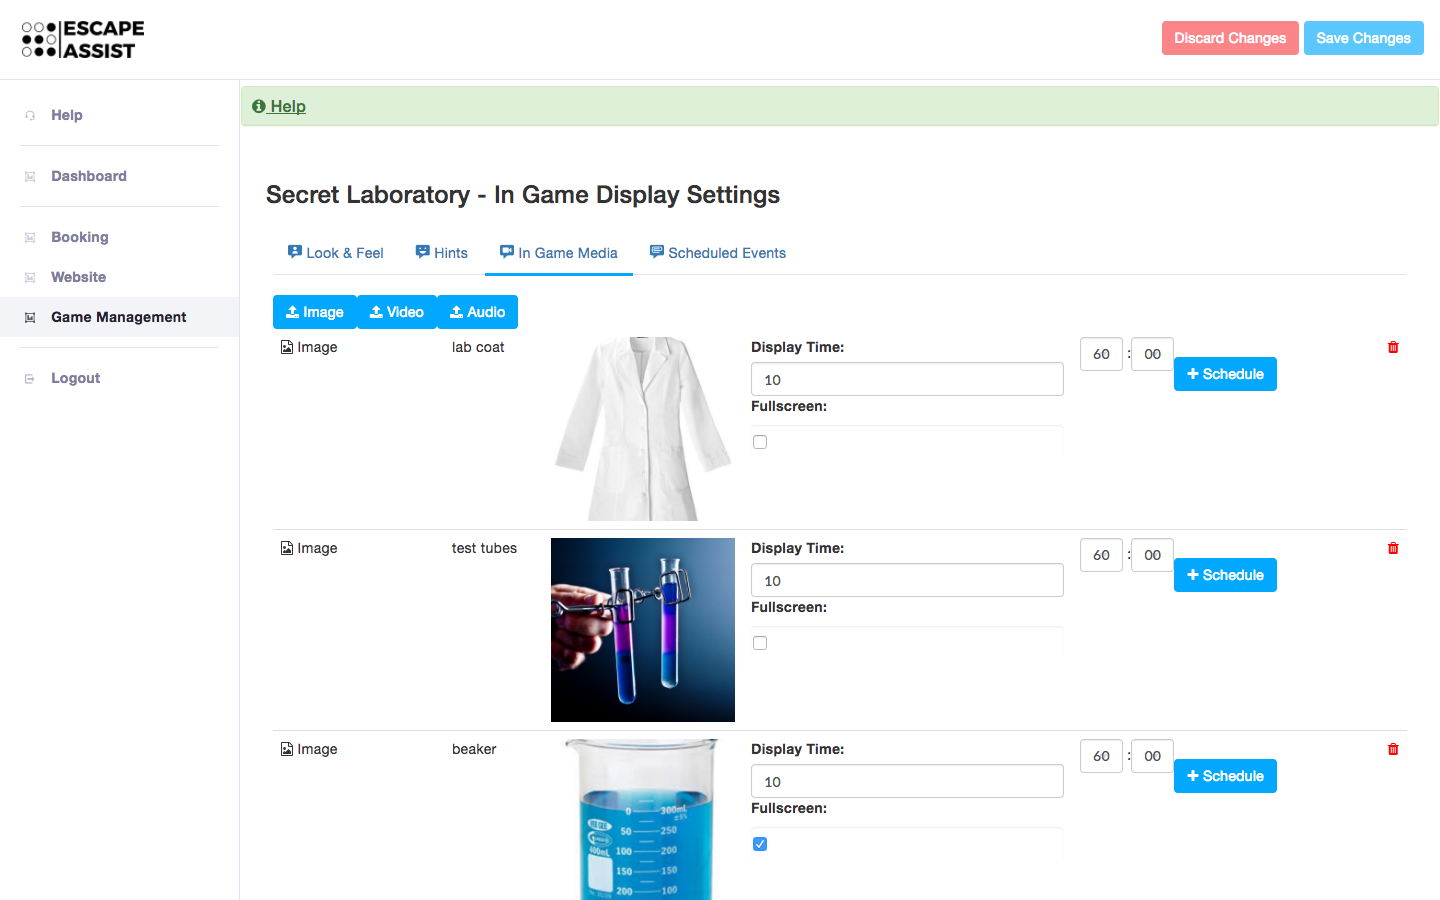
In the “In Game Media” area you can upload photos, videos, and audio files--- and schedule times during the game that you want that media file to appear. Once you have saved and scheduled each of those media events they will automatically appear under the “Scheduled Events” area.
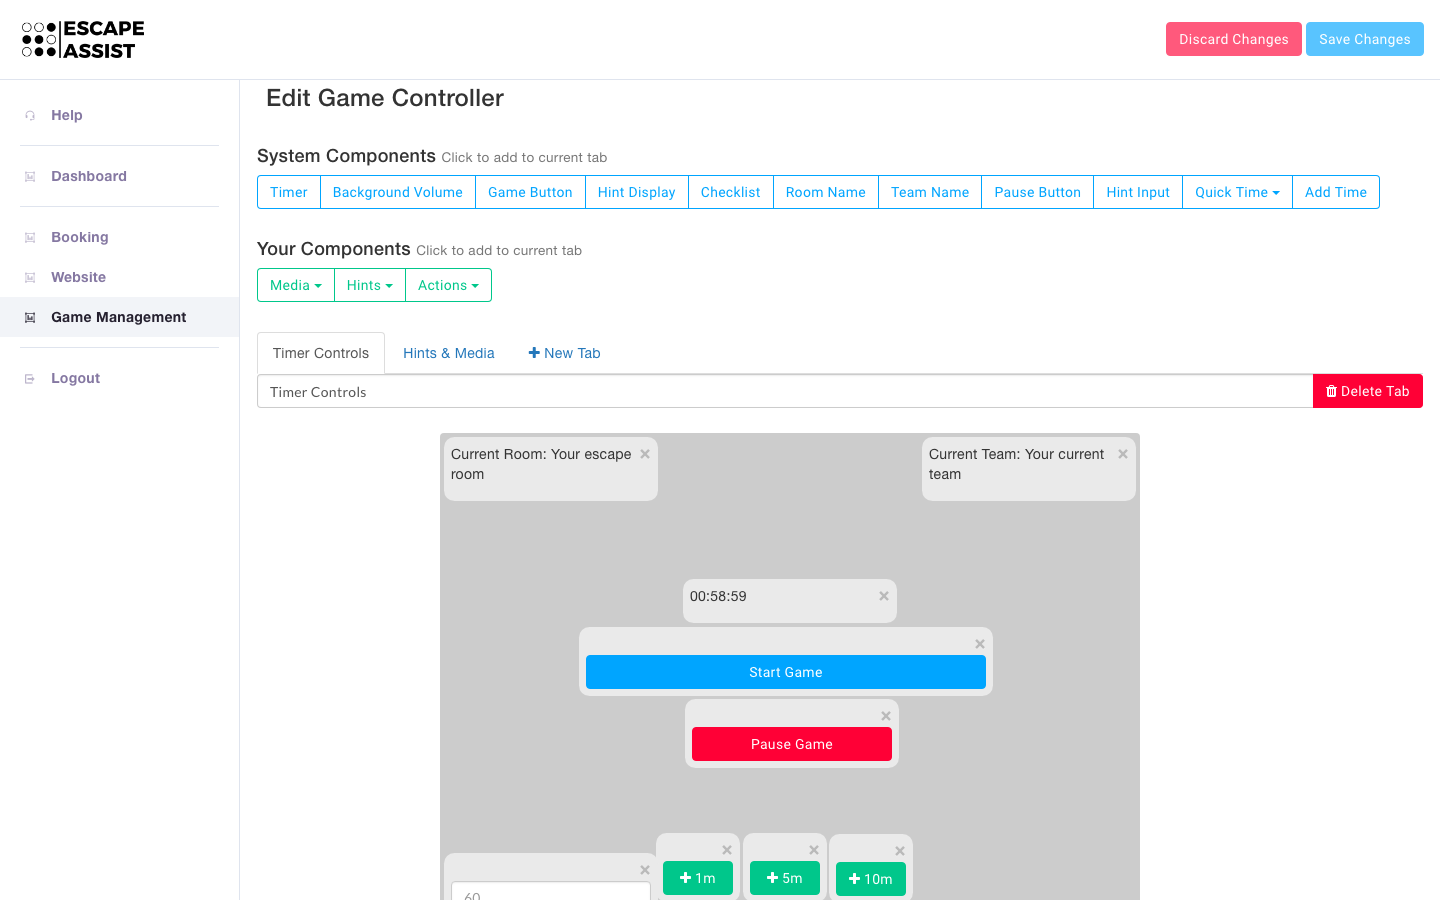
Next, you can personalize the layout of your game controller by clicking the "Edit Game Controller" button. You are given blank tab(s) to fill and arrange the various components as you see fit. For example, if you click the “Timer” button it will show up in the top left and you can drag it to wherever you are comfortable managing the timer. Each time you click on a component it will appear in the top left and you can drag it to your chosen location.
If you prefer, you can use the default arrangement prepared by EscapeAssist.
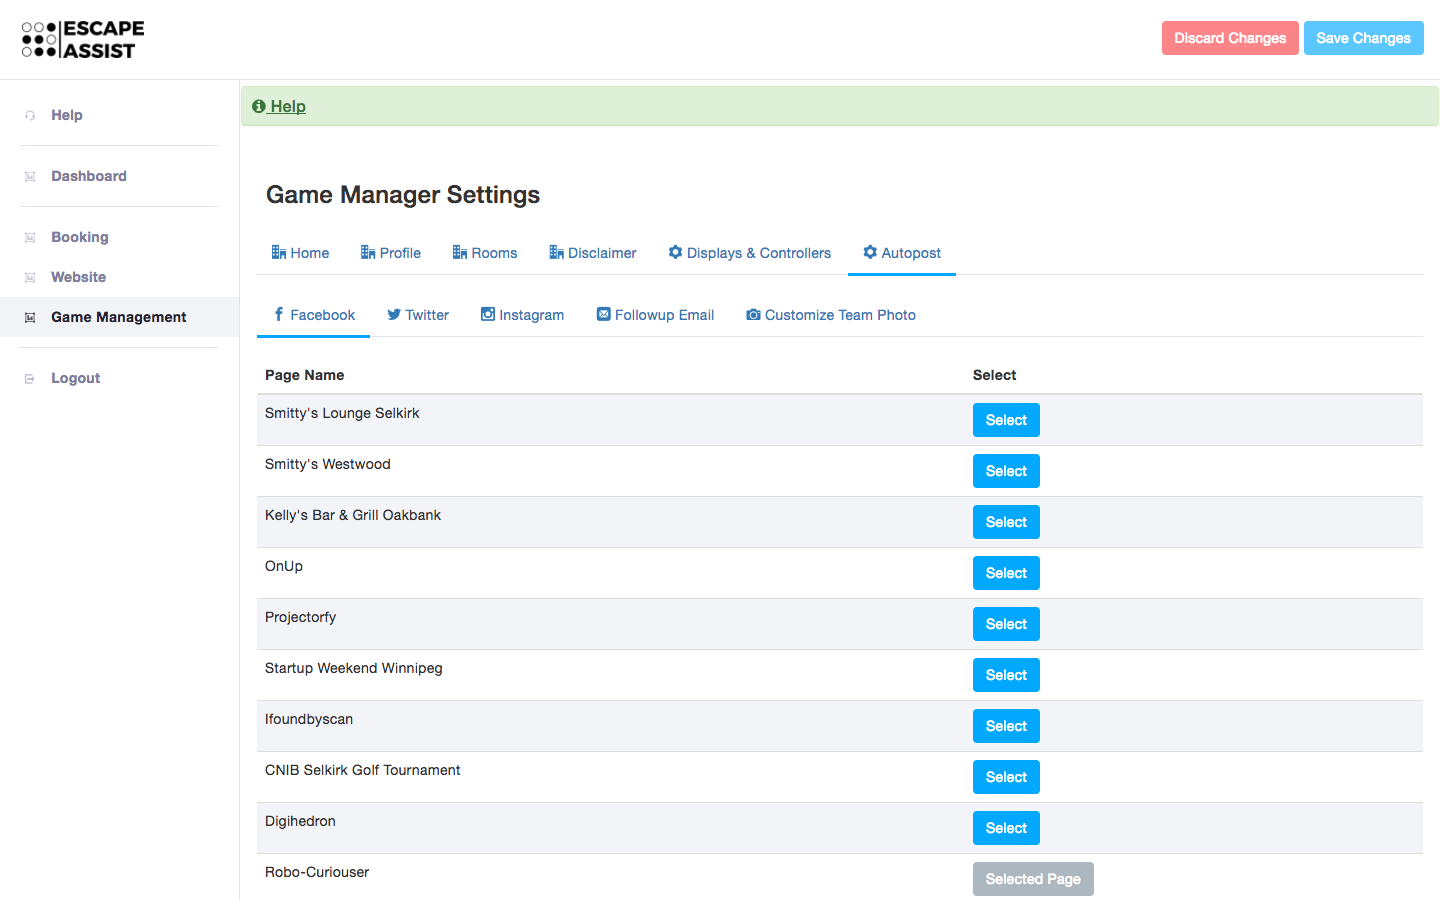
6) In the Autopost section, you can create automatic posts such as social media updates and follow-up emails to players. Use {team_name} as a placeholder (to be automatically filled in when players choose a team name) and compose an appropriate message.
In order to post automatically to Facebook or Twitter, you will need to connect your account. To post to Instagram, you will have to run the game manager from a phone or tablet with the Instagram app already installed and configured.
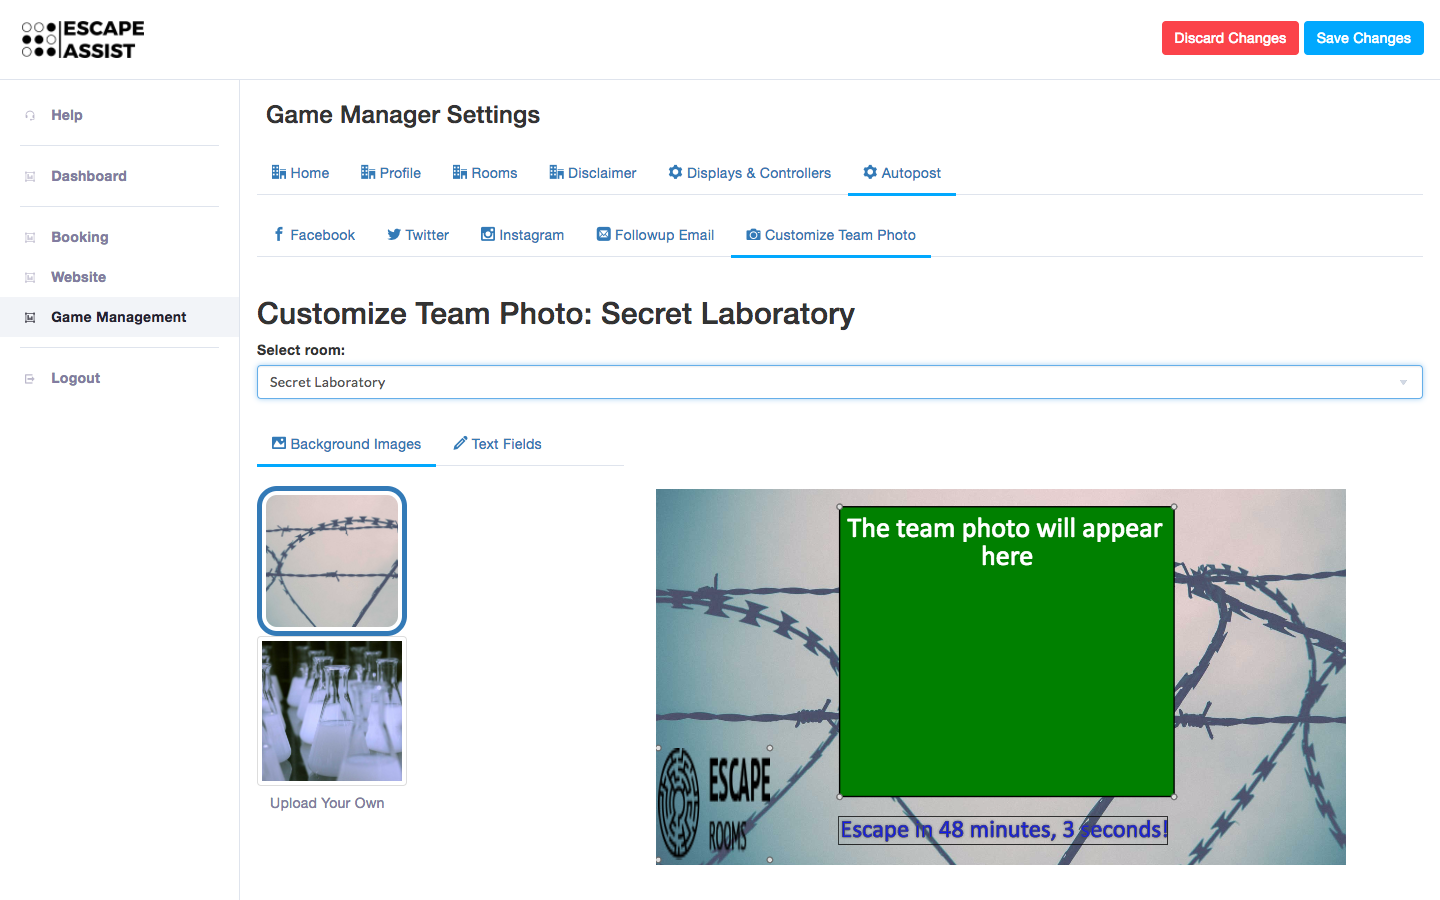
You can also use the Customize Team Photo tool to personalize team photos that will be posted to social media. You can upload a background image, and add text to the photo. In addition, EscapeAssist will automatically add your company's logo to each team photo.
7) The next step of the Game Management portion is setting up your in-game display app. Go to the "Setup Checklist" side of the Game Management tab and click "Download & run in-game display app."
Download the app onto the main device you want to use as your server (typically a desktop or laptop). That computer will run the in-game display (in a web browser or using our in-game display app). You can then connect that computer to the tv monitor in the room by connecting an HDMI cable, Chromecast, Apple TV, or similar tool.
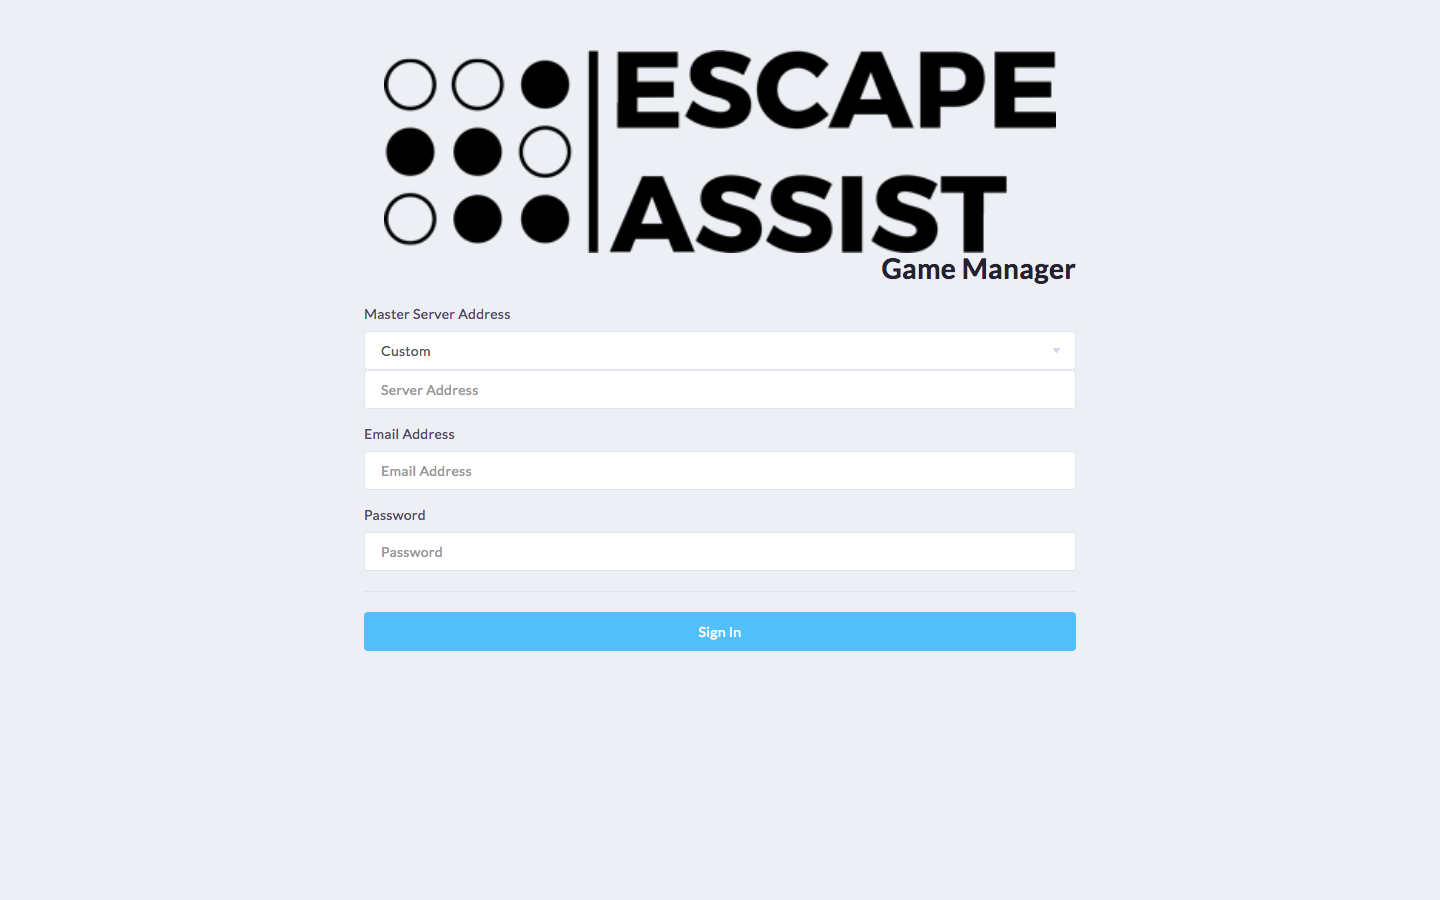
When you open the app you will come to a sign-in screen. Choose your "master service address" (IP address) from the drop down menu, and then enter the same login/password you use to access your EscapeAssist dashboard.
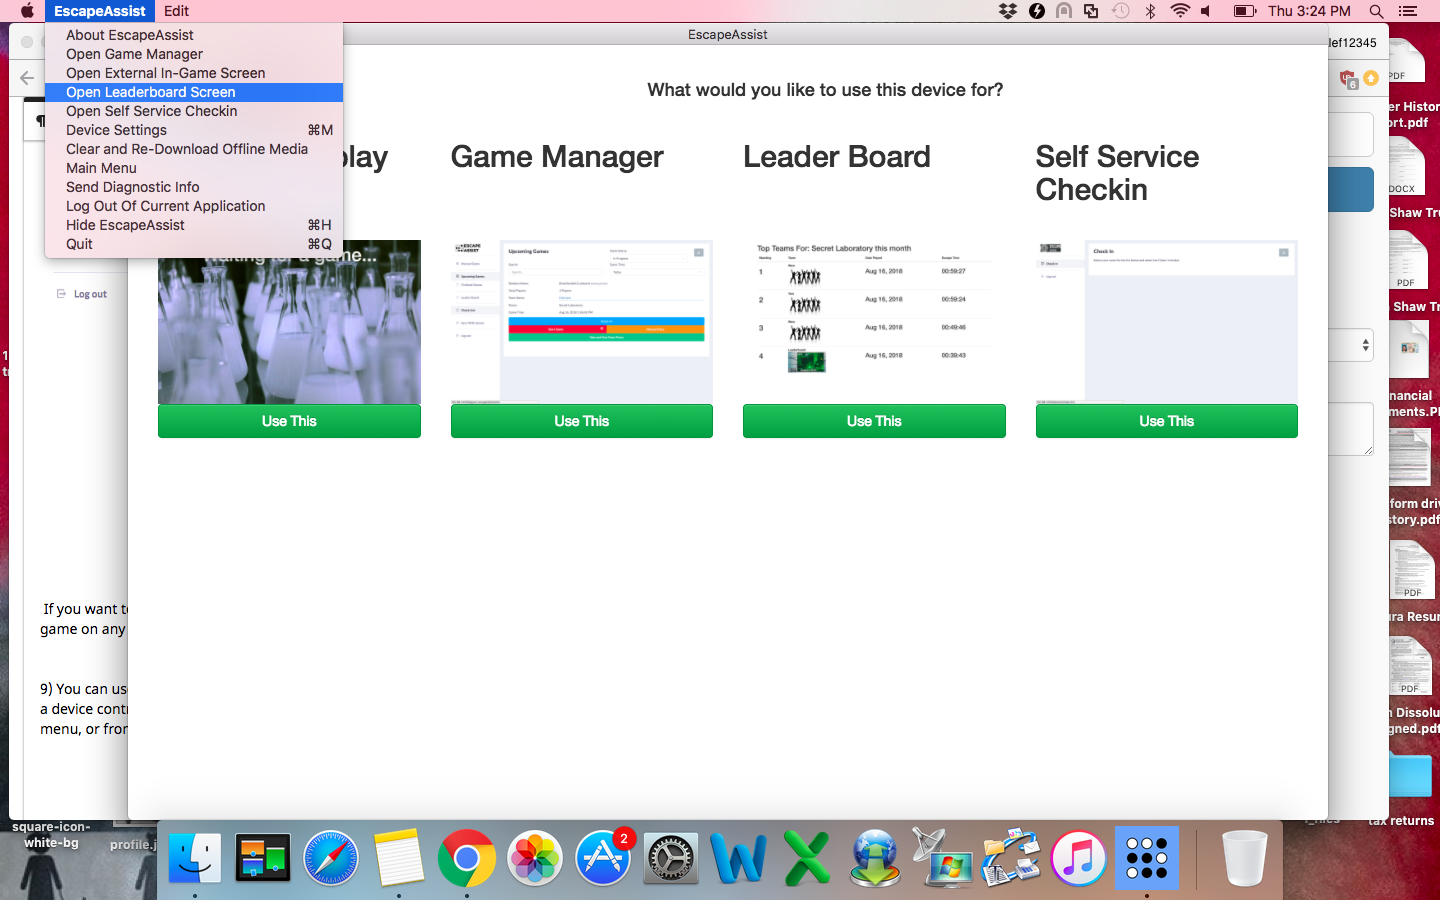
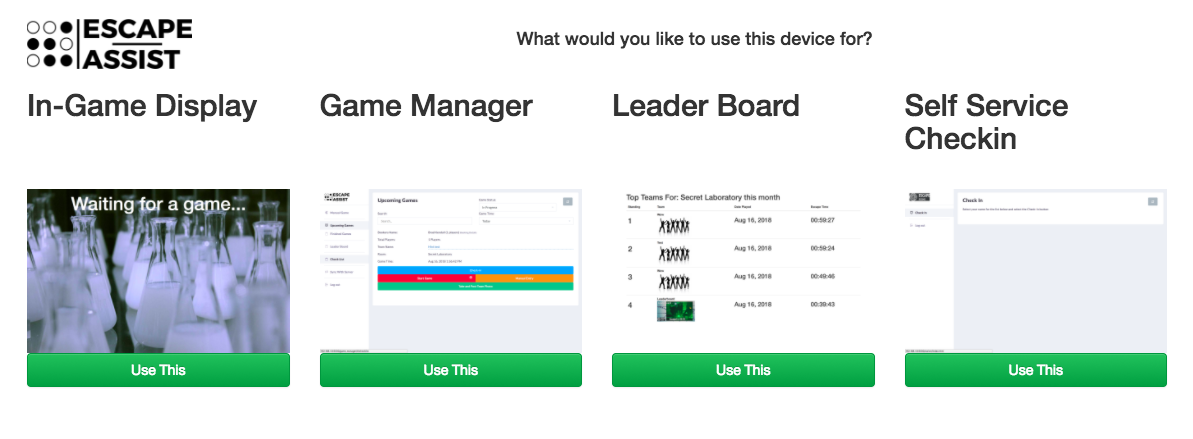
Once you have signed in you will come to a home screen which asks you "What would you like to use this device for?." Since we are in the process of setting up the in-game screen, you will want to click the "use this" button under option 1. This will take you to the sign-in page for your in-game display. Use the same log-in credentials as before.
 After logging in you can choose which room's in-game display you want to show by hitting the "select this room" button. You will then see the display for that room, and using the HDMI cable/Chromecast mentioned above it will be displayed inside your room. A shortcut to go back and choose a different room's display is to hit "Control D."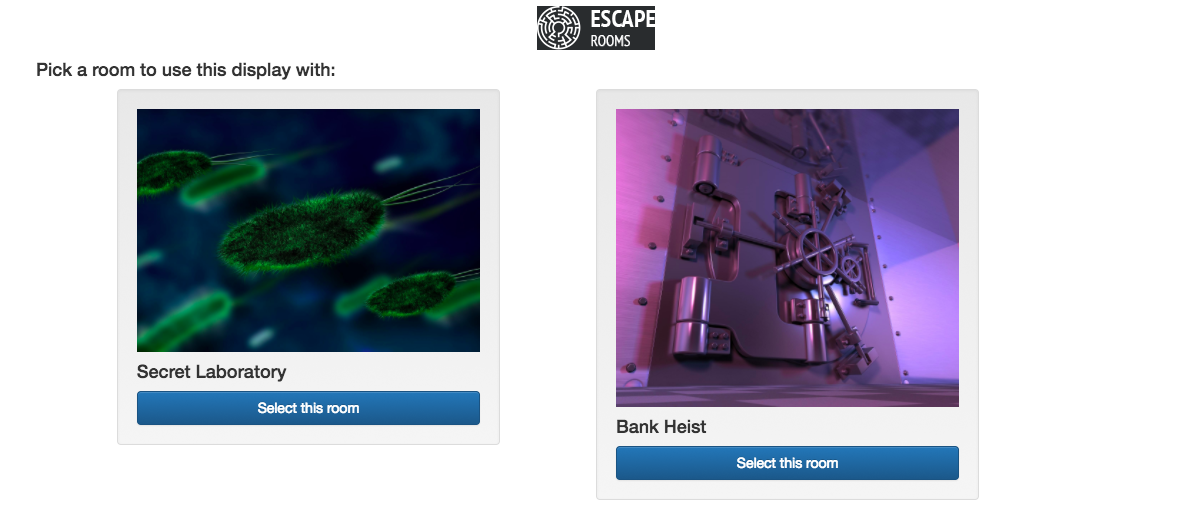
8) The other part of Game Management is actually running a game using our game controller. You can open the game controller from the Game Management tab by clicking "launch game controller" at the bottom of the Game Management Checklist. Alternatively you can open it from the app you downloaded. If you are opening it in the app you can either 1) go to the top left to drag down the menu and click "open game manager" or 2) open the main menu and clicking the "use this" button under option 2 "Game Manager."
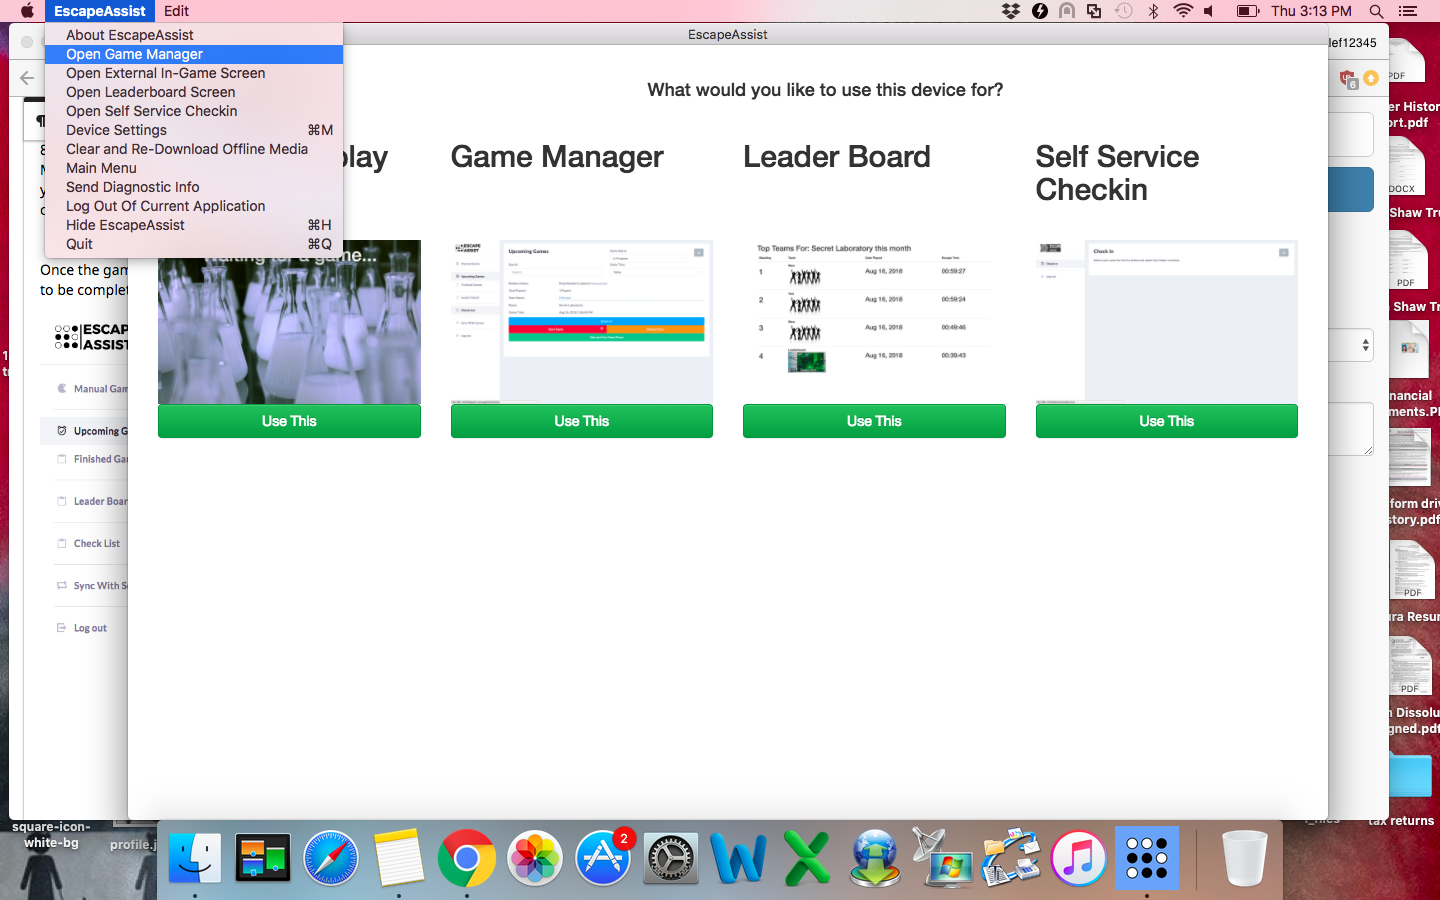
As usual, you will come to a log-in page where you must enter your credentials. Once you have logged in you will see tabs showing your upcoming games, finished games, leaderboard, and room checklist (showing tasks to be completed), and a sync with server tab to sync in your daily bookings, and to export data for reporting.
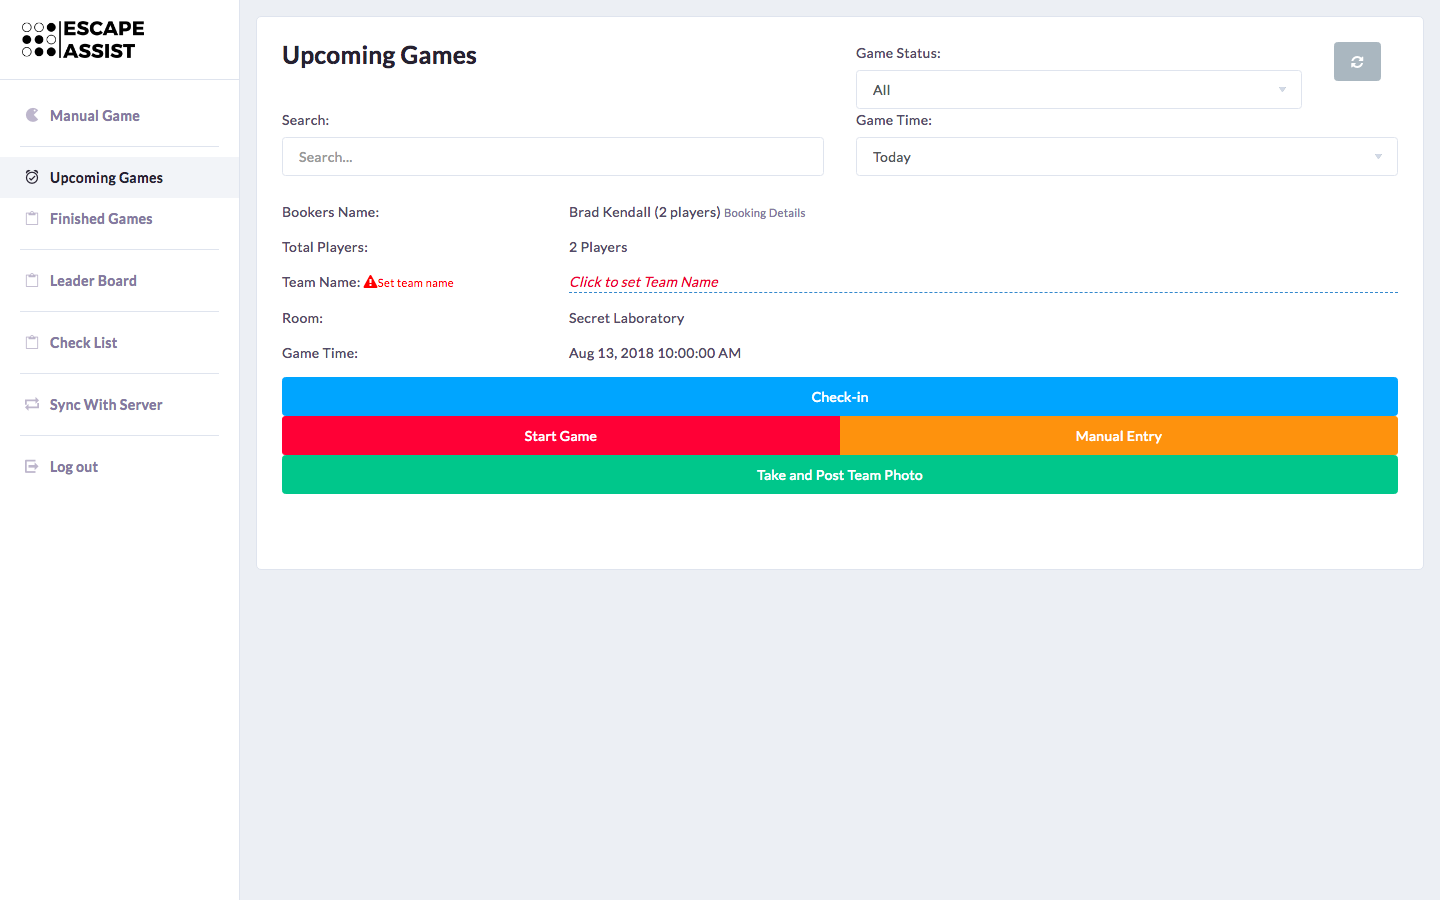
If you want to open the game controller on a different device (such as a tablet): Once the app is downloaded, sign in with your credentials, then immediately click the top left to access the escapeassist drop down menu and click "open game manager." It will open up a browser window on your computer (It should be something like http://192.168.0.100:5000/game_manager). You can simply type/copy that game manager link from your computer to your tablet. You can pick up a game on any device at any stage in the game.
9) You can use the game manager app for multiple functions. As you can see from the main menu, you can have a device show your in-game display, a device control the game, a device display your leaderboard, and a device as a self-checkin tool. You can open any of these functions from the main menu, or from the drop down menu at the top left of the app.