How do I setup my booking system?
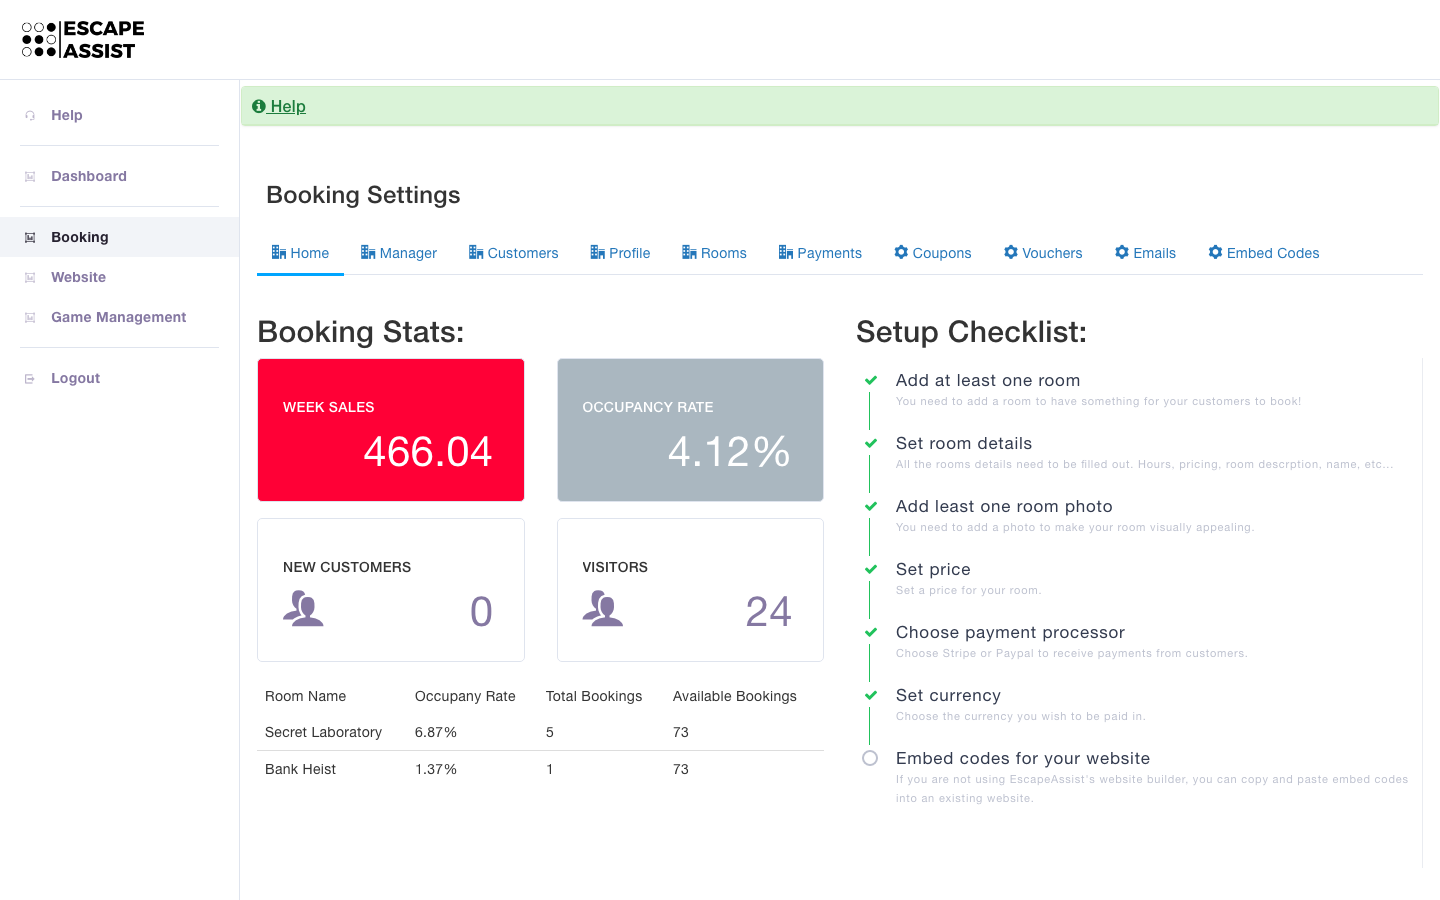
1) Under the Booking tab, you will start with the Booking Settings, Home section. On the left, you will see booking statistics such as weekly sales, occupancy rate, new customers, and visitors to your website. On the right, you can monitor your setup progress using the “Setup Checklist” and add any missing information that is required. Check out and complete the following sections from left to right.
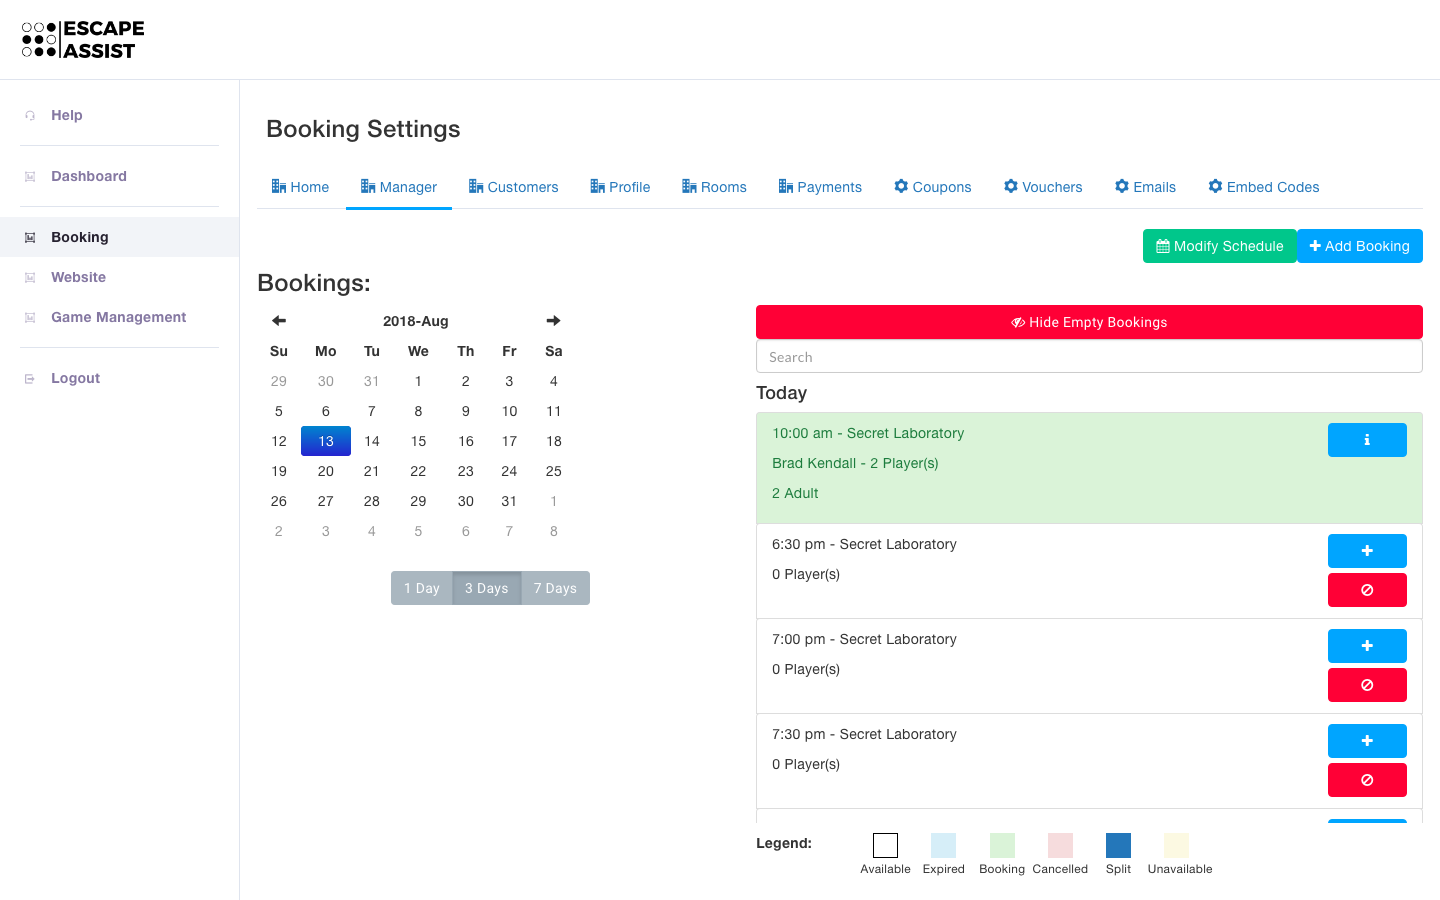
2) In the Manager section, you can monitor and organize your bookings. You can look at 1, 3, or 7 days worth of bookings using our handy calendar and game list. Available booking slots appear in white, expired slots in blue, unavailable slots in yellow, booked slots in green, and cancelled slots in red.
This section is also where you can manually add a booking (if you have a walk-in or phone-in customer), by clicking on the "Add Booking" button and typing in the customer information.
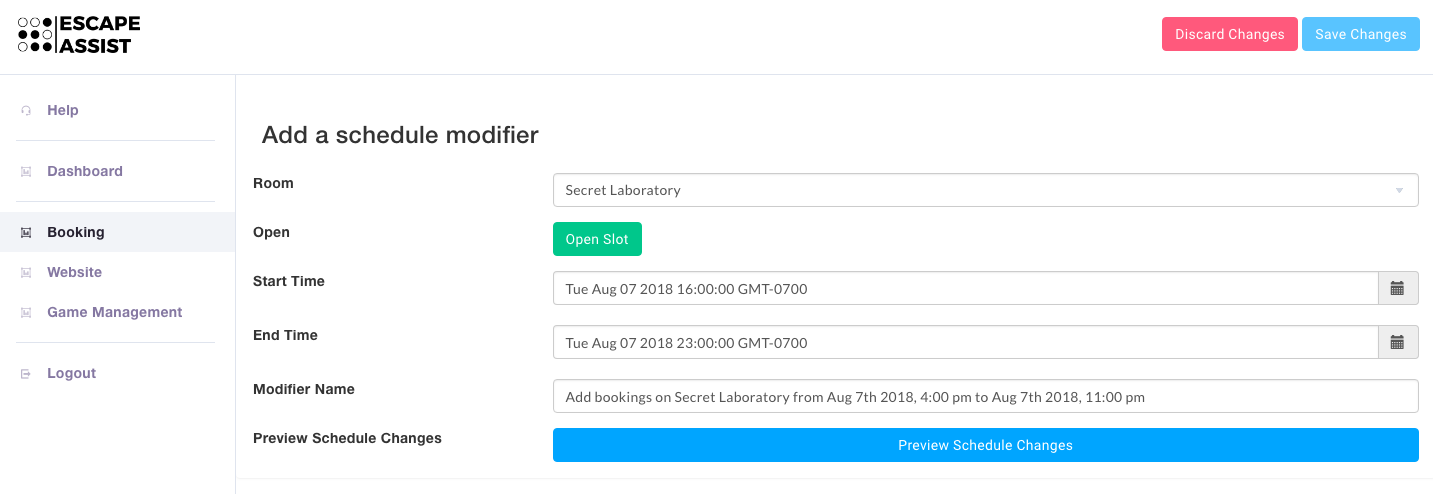
In addition, you can use the "Modify Schedule" button to create Schedule Modifiers. For example, you can choose to open a slot that is usually closed (perhaps for a holiday weekend) or close a slot that is usually open.
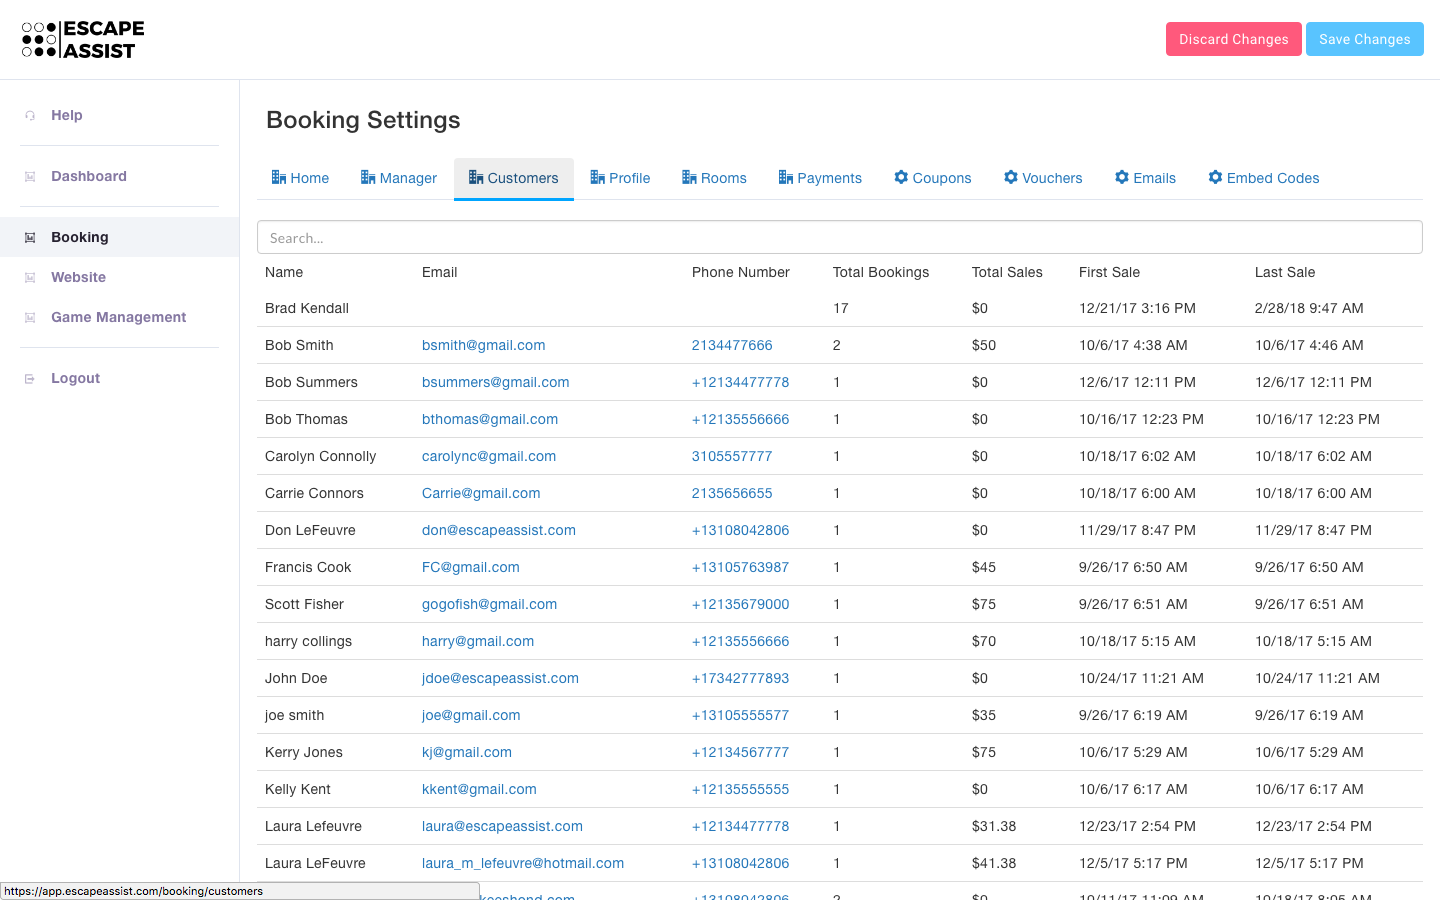
3) In the Customers section, you will see a list of your customers. You can find a particular customer by searching by first or last name, email, or phone number.
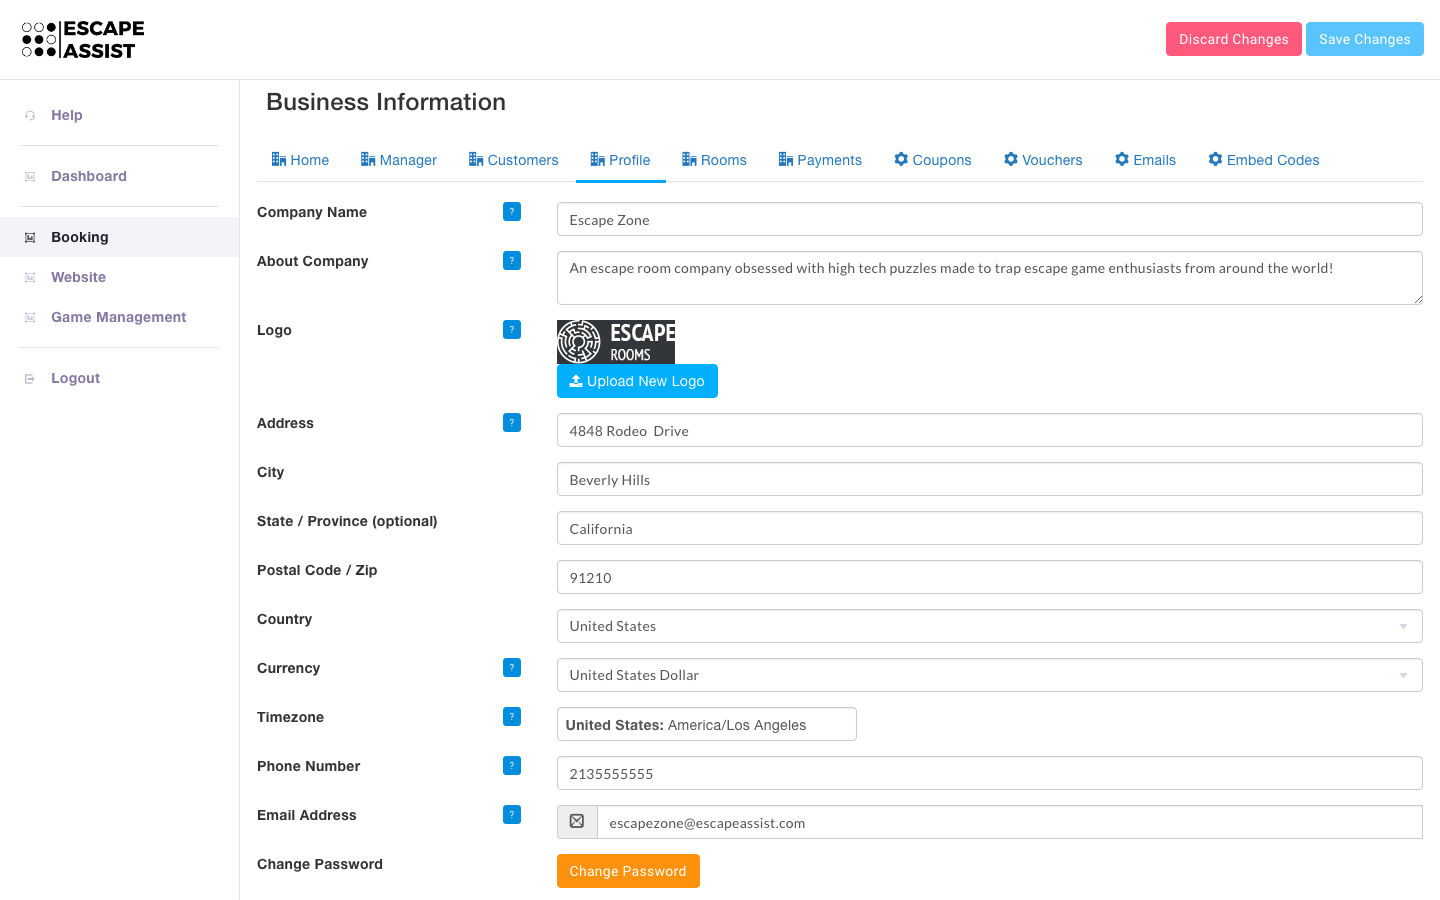
4) In the Profile section, you need to enter information about your escape room company including logo, address, and currency preference. Please note, information added/modified here will be changed in the Game Management and Website portions of EscapeAssist as well.
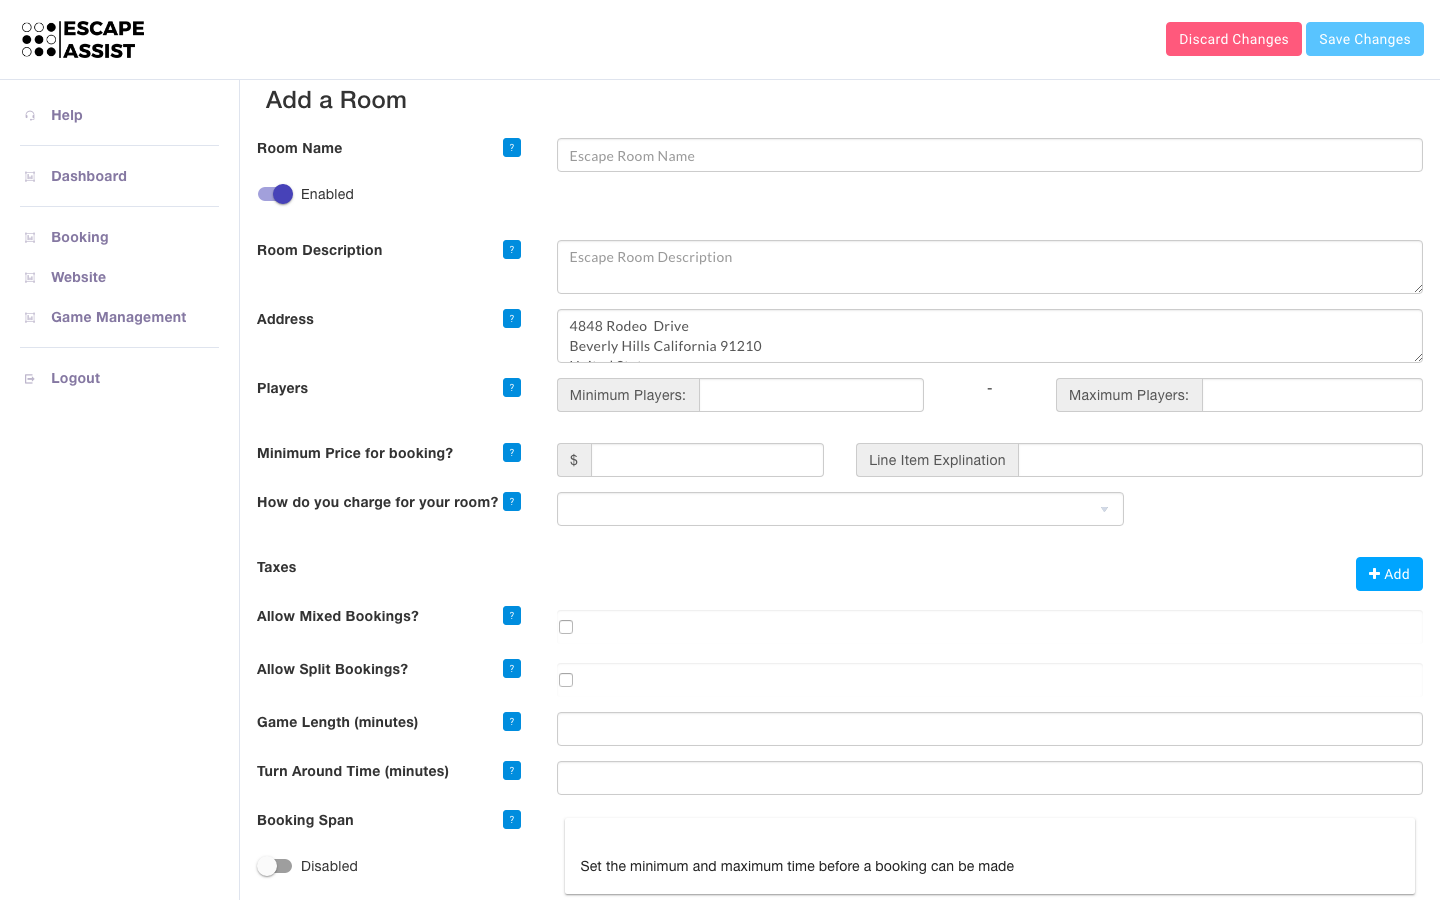
5) In the Rooms section, you can add each room you operate by clicking the “Create Room” button. You can enter specific information about each of your themed rooms. You will need to input details such as room name, description, number of players, price, game length, hours, etc. We have even included drop down boxes to specify how you charge your customers (by room vs. by player) and what you charge for different types of players (e.g. adult, child, senior).
Please note, information added/modified here in the Rooms section will be changed in the Game Management and Website portions of EscapeAssist as well.
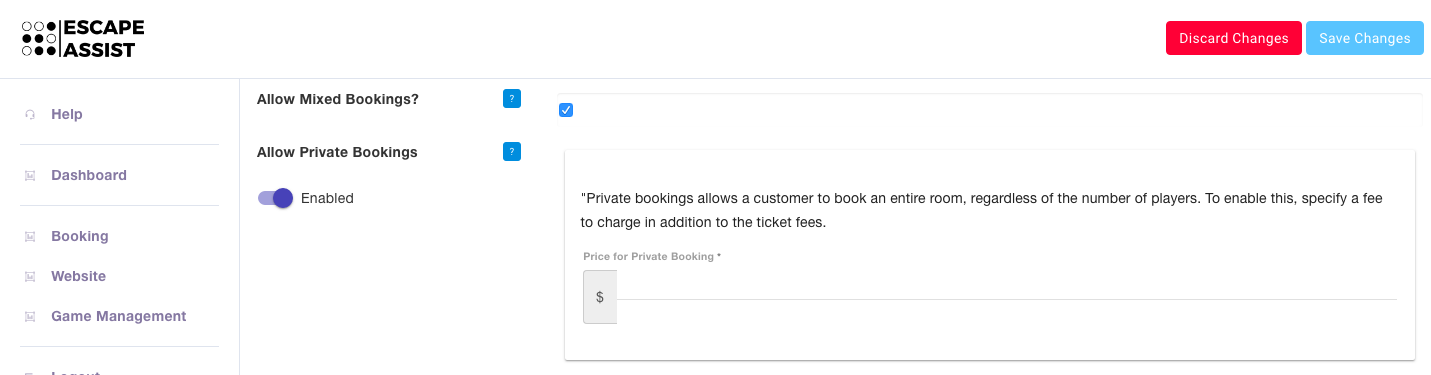
In this section, you can also choose to use (or not use) some of EscapeAssist's unique booking features. For example, you can also choose to have 1) only private rooms, 2) "Allow Mixed Bookings" (which means players may be teamed up with strangers) or 3) "Allow Private Bookings" with an extra fee.
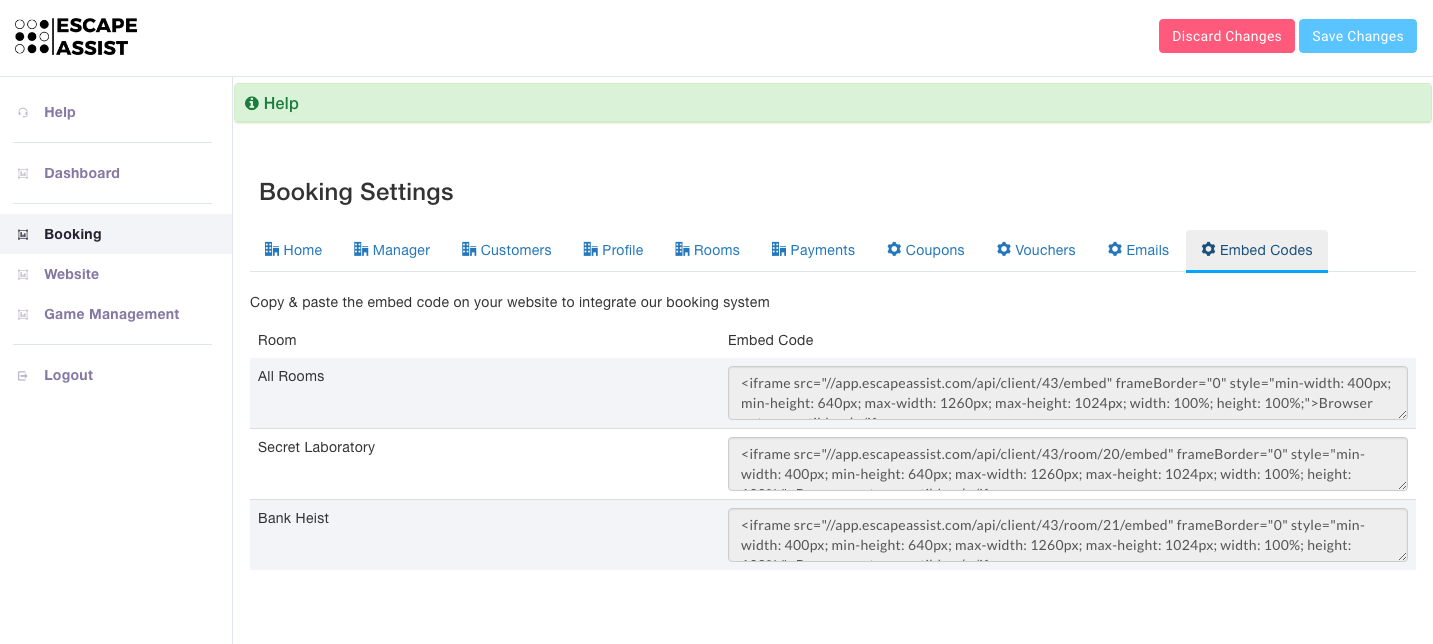
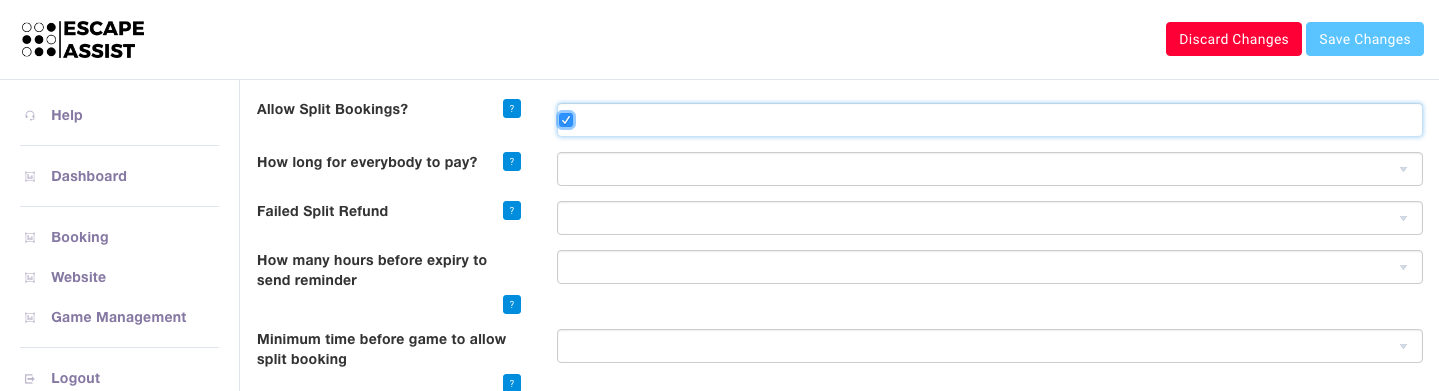
You can choose to "Allow Split Bookings"---rather than one player paying for the whole team, he/she can split the booking and have each member of the team pay their own share. Each player is sent a unique payment link to pay their portion, and the lead booker receives updates of who still needs to pay. You need to decide how long you are willing to hold the room open while you wait for all team members to pay, how much of the lead booker's deposit you will return if the entire team fails to pay, when to send split booking reminders, and how far in advance of a game you will allow split bookings.
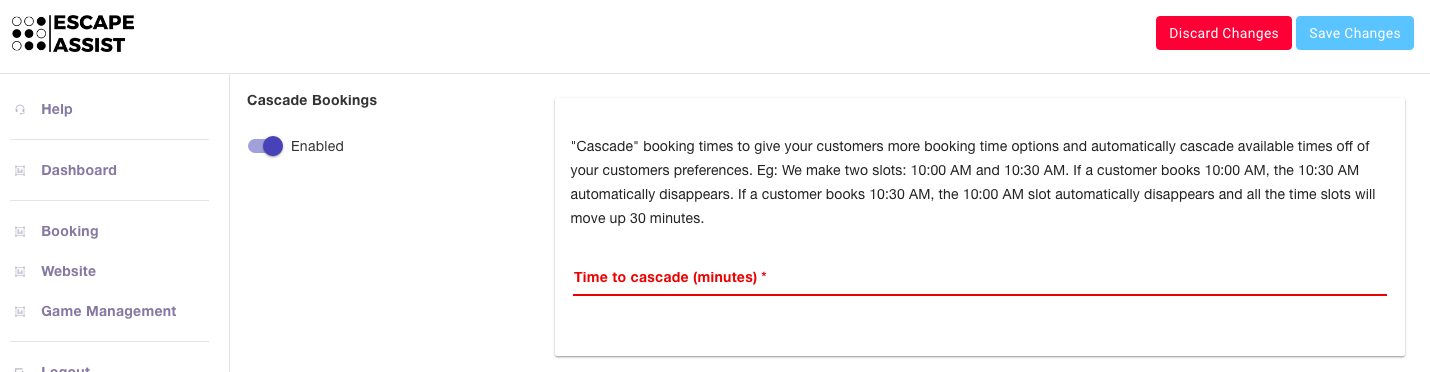
Another option is to "Cascade Bookings." This feature gives your customers more booking time options because it automatically cascades available times based on a customer's preference. Rather than forcing players to book at 1:00, 2:00, 3:00, etc. We can offer slots at 1:00, 1:15, 1:30, etc. and depending on what the player books we automatically shift your schedule accordingly.
Eg: You make two slots: 10:00 AM and 10:30 AM. If a customer prefers to book the 10:00 AM, the 10:30 AM automatically disappears. If a customer books 10:30 AM, the 10:00 AM slot automatically disappears and all the time slots will move up 30 minutes. You simply need to set your desired "Time to cascade."
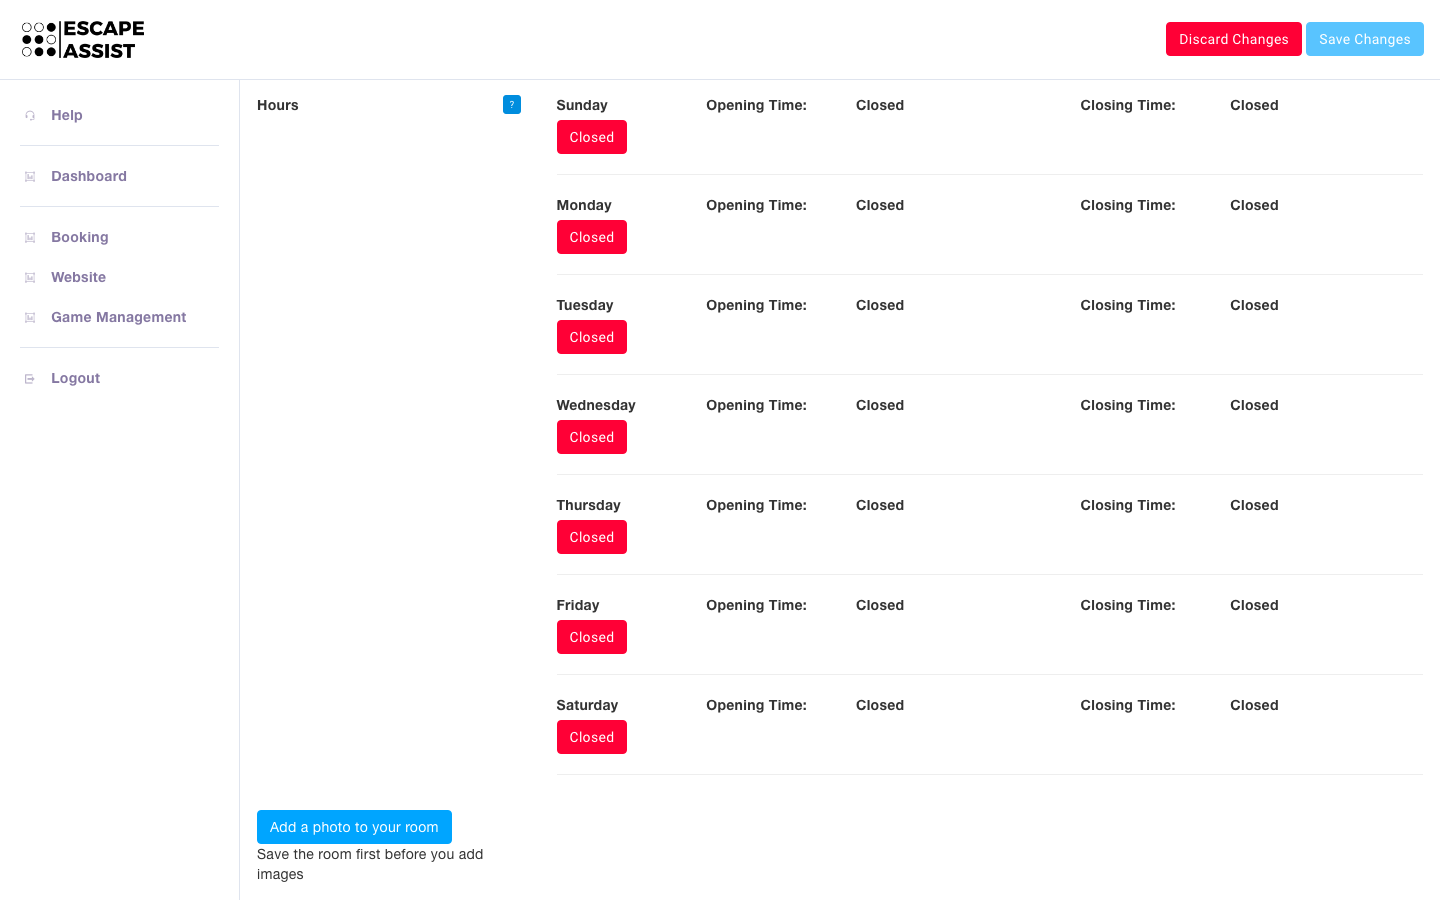
Next, you need to fill in the hours that your room is open each day, and we will automatically optimize your schedule with appropriate slots.
Finally, save your changes to your Rooms section, and then put the finishing touch by adding a photo of your room.
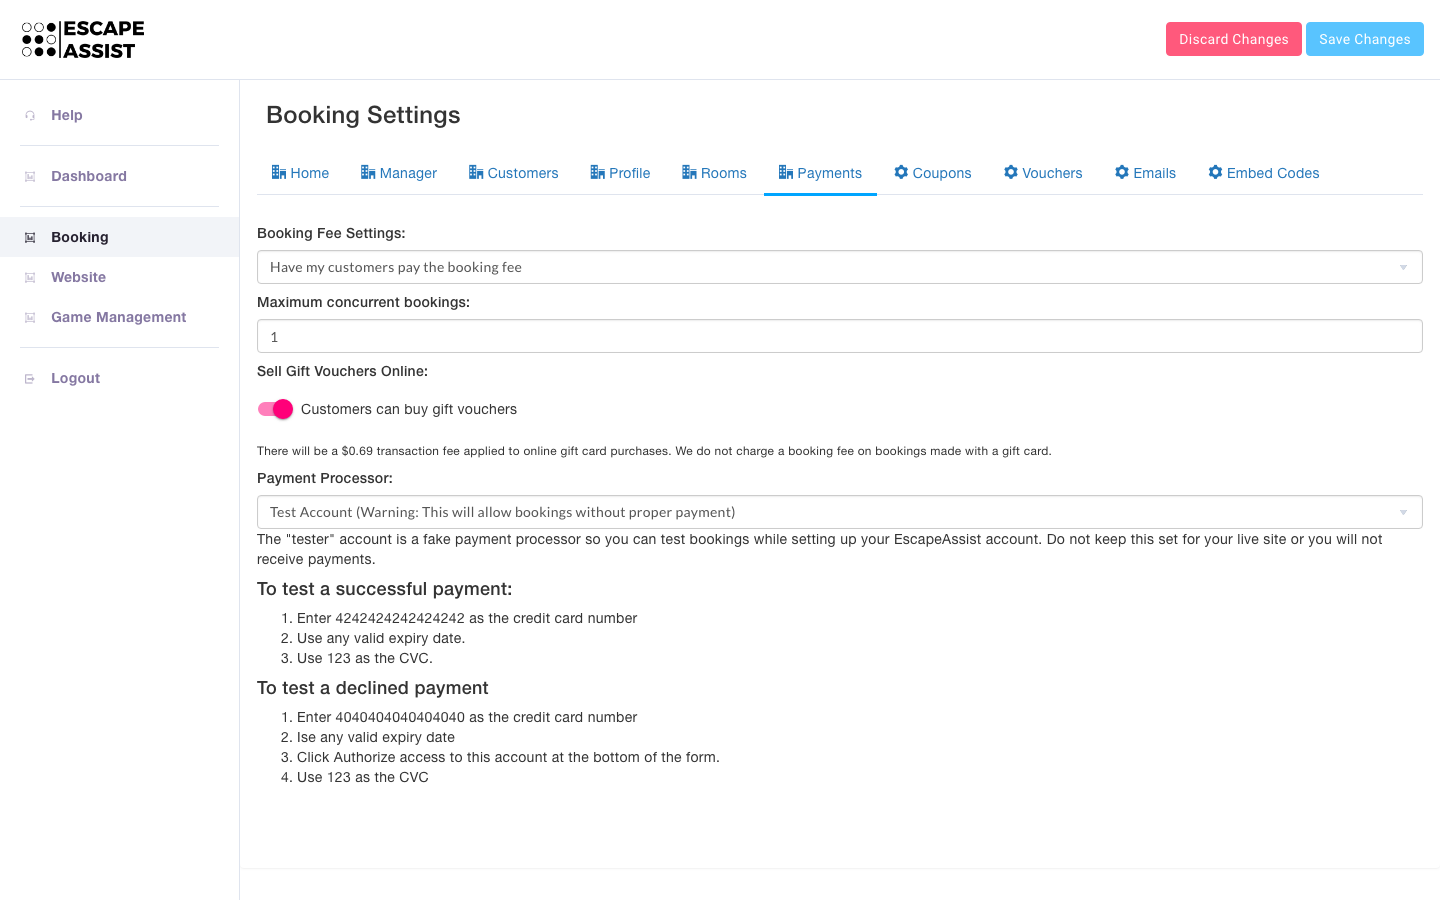
6) In the Payments section, start by choosing if you would like to absorb EscapeAssist's booking fee or pass it along to your customers.
Next, decide how many concurrent bookings you can handle. For example, if you have 4 rooms but only 2 staff, you can set the maximum concurrent bookings to "2" so that once you have 2 bookings the other 2 rooms will appear unavailable (and your staff will not be overwhelmed).
Here you can also decide if you want to sell gift vouchers online.
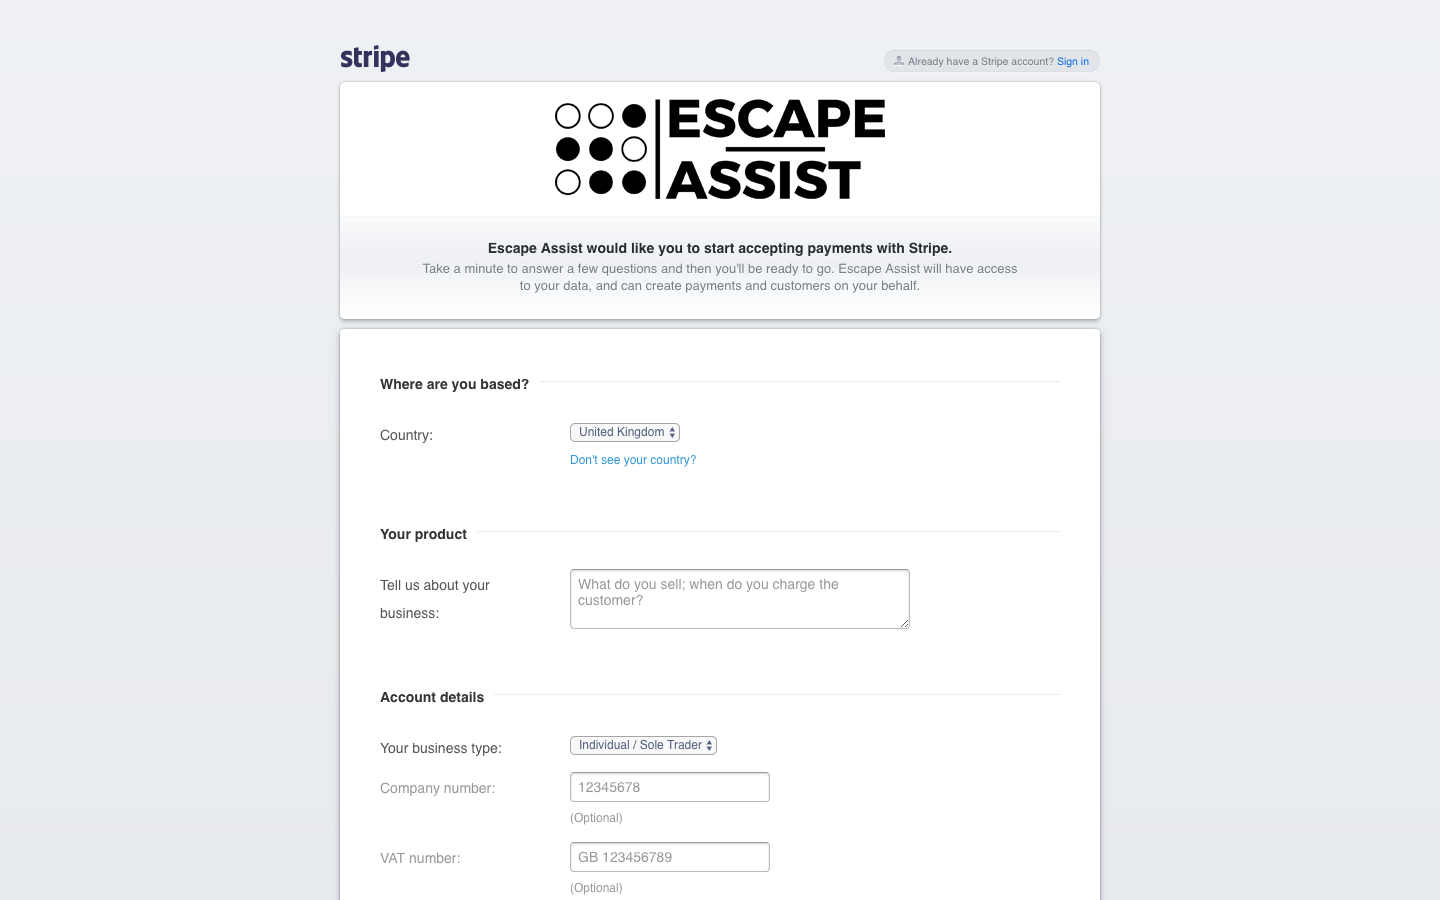
Most importantly, this section is where you setup your Payment Processor. If you are just testing EscapeAssist use a "test account" (clients will not be charged using the test account). If you are ready to go, click the "Stripe" option and follow the instructions below to setup a new, or link an existing Stripe account.
Once you choose Stripe from the drop down menu, click the "Connect Stripe" button. If you already have a Stripe account, click "Sign In" at the top right of the Stripe window and sign in. If you don’t have a Stripe account yet, complete all fields in the form and click the "Authorize access to this account" button at the bottom of the form.
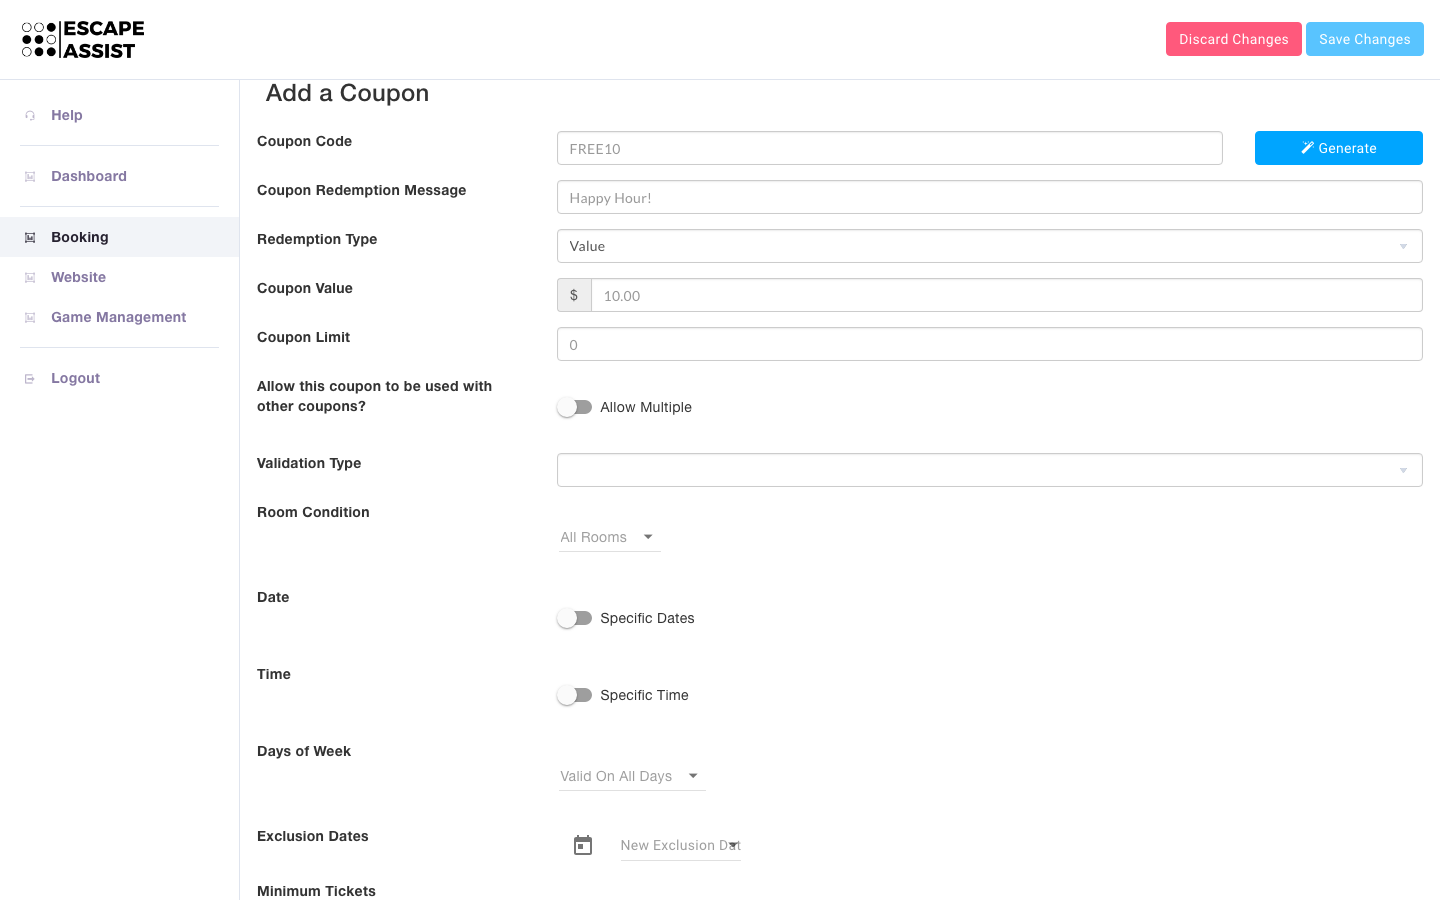
7) In the Coupons section, use the "Add Coupon" button to enter coupon codes for players to redeem cash or percentage discounts at your escape room. You can specify how coupons can be used, for example some coupons are only valid for a certain room, only valid on certain dates/times, or only useable by certain players (e.g. a veteran's coupon).
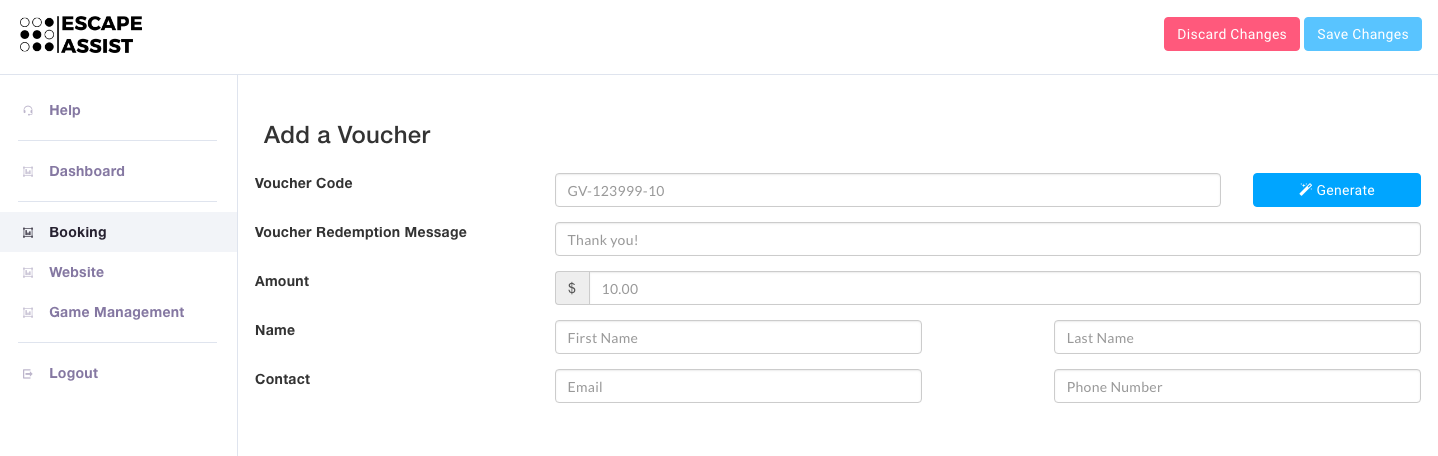
8) In the Vouchers section, you can create gift vouchers with a set cash value. A voucher can continue to be used until the total value is used up.
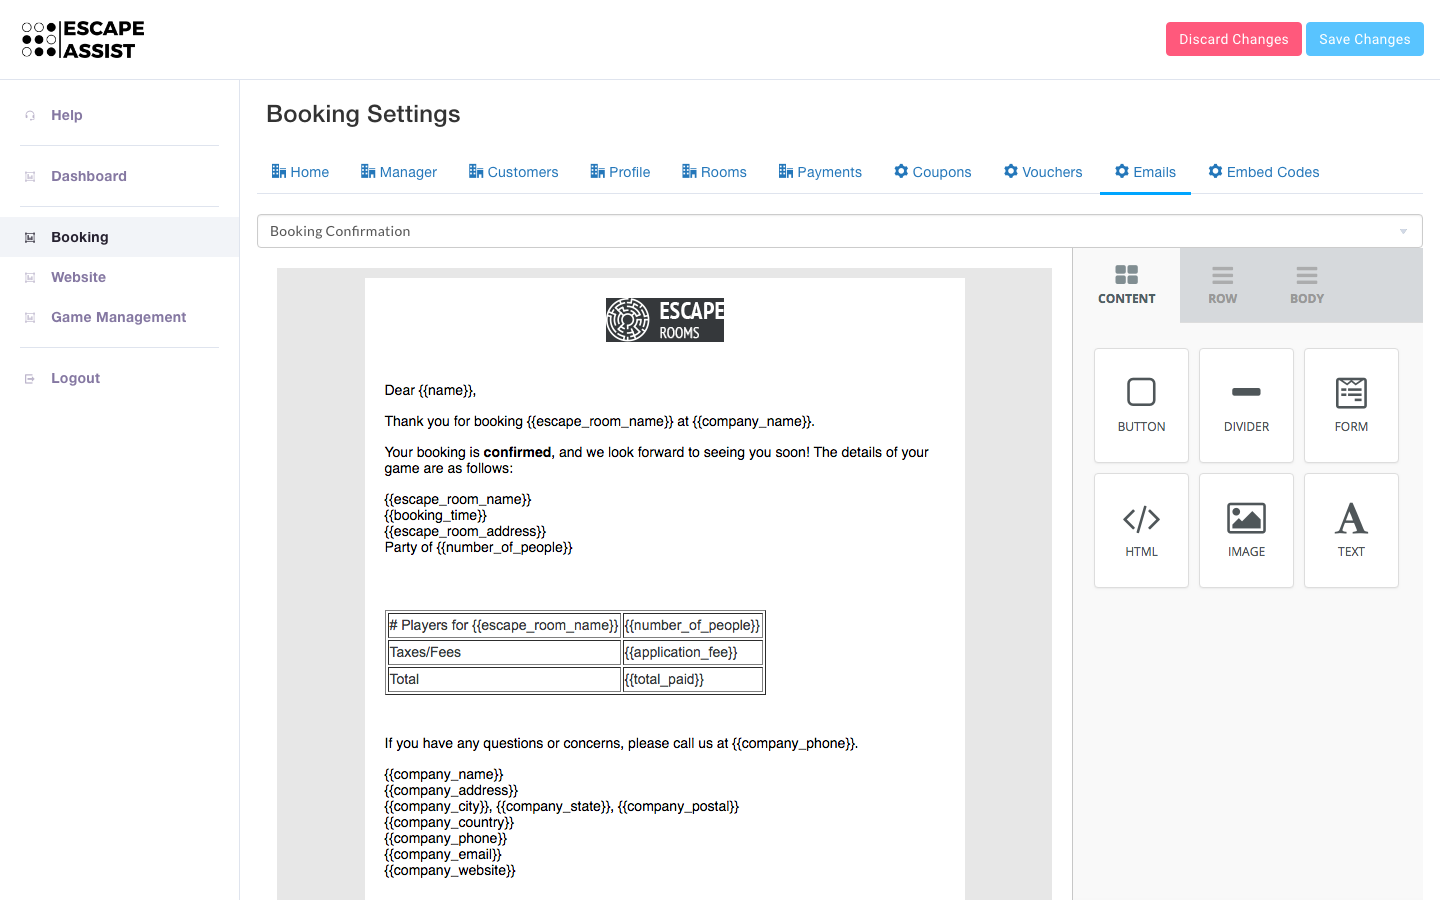
9) In the Emails section, you can customize the look/wording of your booking confirmation and follow-up emails.
10) In the Embed Codes section, those who choose to forgo EscapeAssist’s website builder can embed EscapeAssist's booking system as a widget directly into their pre-existing website. This can be done by copying the embed code and pasting it into the HTML code of a page of your website where you want it to appear.