How do I setup my website?
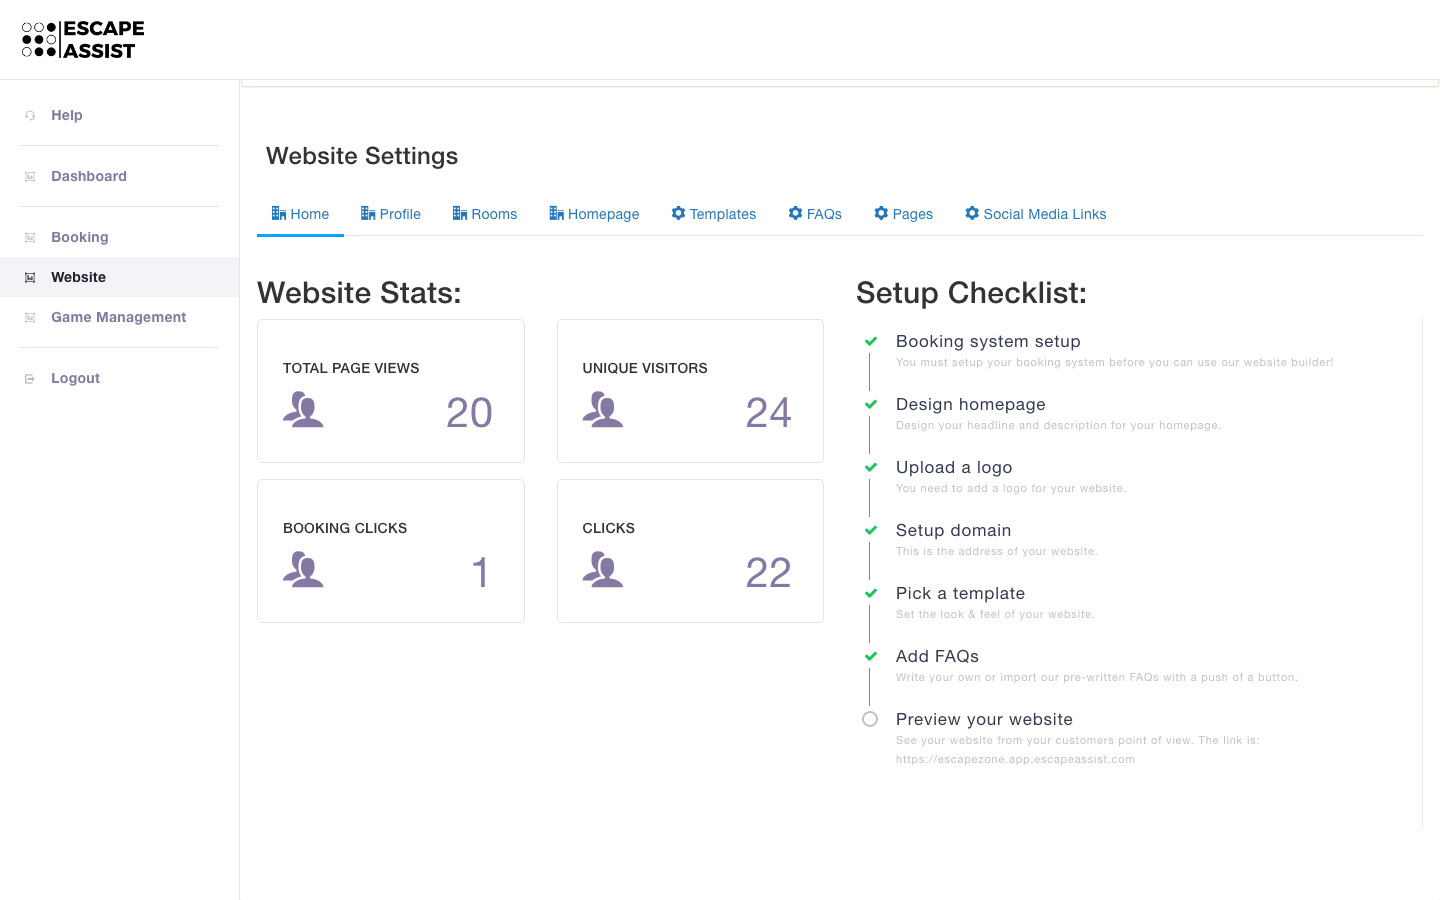
1) Under the Website tab you will begin by seeing the Website Settings, Home section. On the left you will see website statistics such as total page views, unique visitors, booking clicks, and website clicks. On the right you can monitor your setup progress using the “Setup Checklist” and add any missing information that is required. Check out and fill in the sections left to right, and remember to "Save Changes" as you go.
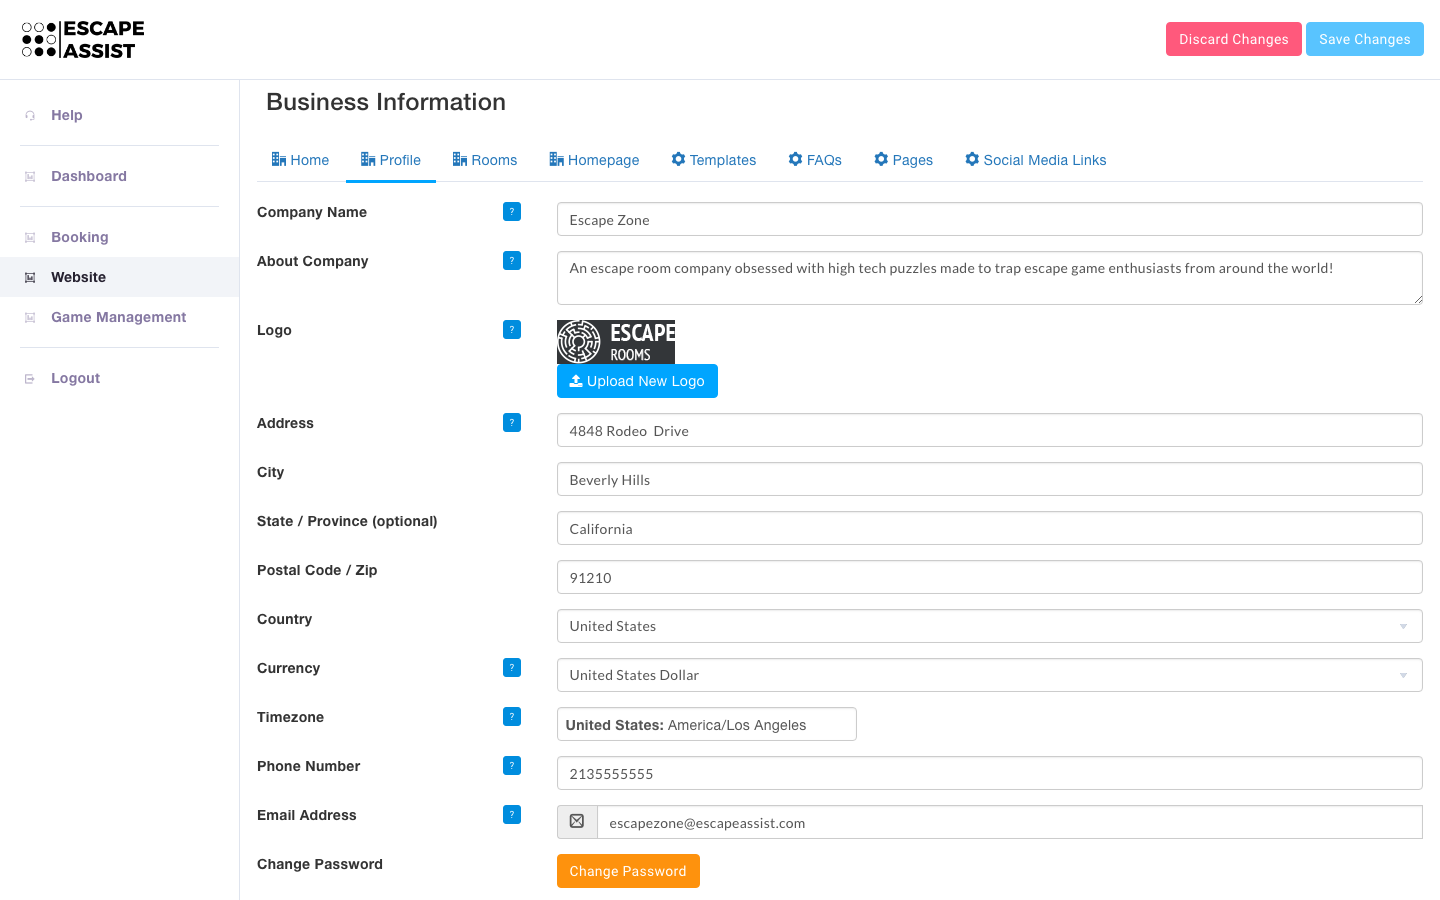
2) Next is the Profile section---it may already be complete if you filled it out setting up your booking system. If not, proceed to fill out the required information about your escape room company including logo, address, and currency preference.
Please note, information added/modified here will be changed in the Booking and Game Management portions of EscapeAssist as well.
3) Next is the Rooms section---it may already be complete if you filled it out setting up your booking system. If not, go ahead and add each room you operate by clicking the “Create Room” button. You can enter specific information about each of your themed rooms. You will need to input details such as room name, description, number of players, price, game length, hours, etc. We have even included drop down boxes to specify how you charge your customers (by room vs. by player) and what you charge for different types of players (e.g. adult, child, senior).
Please note, information added/modified here in the Rooms section will be changed in the Booking and Game Management portions of EscapeAssist as well.
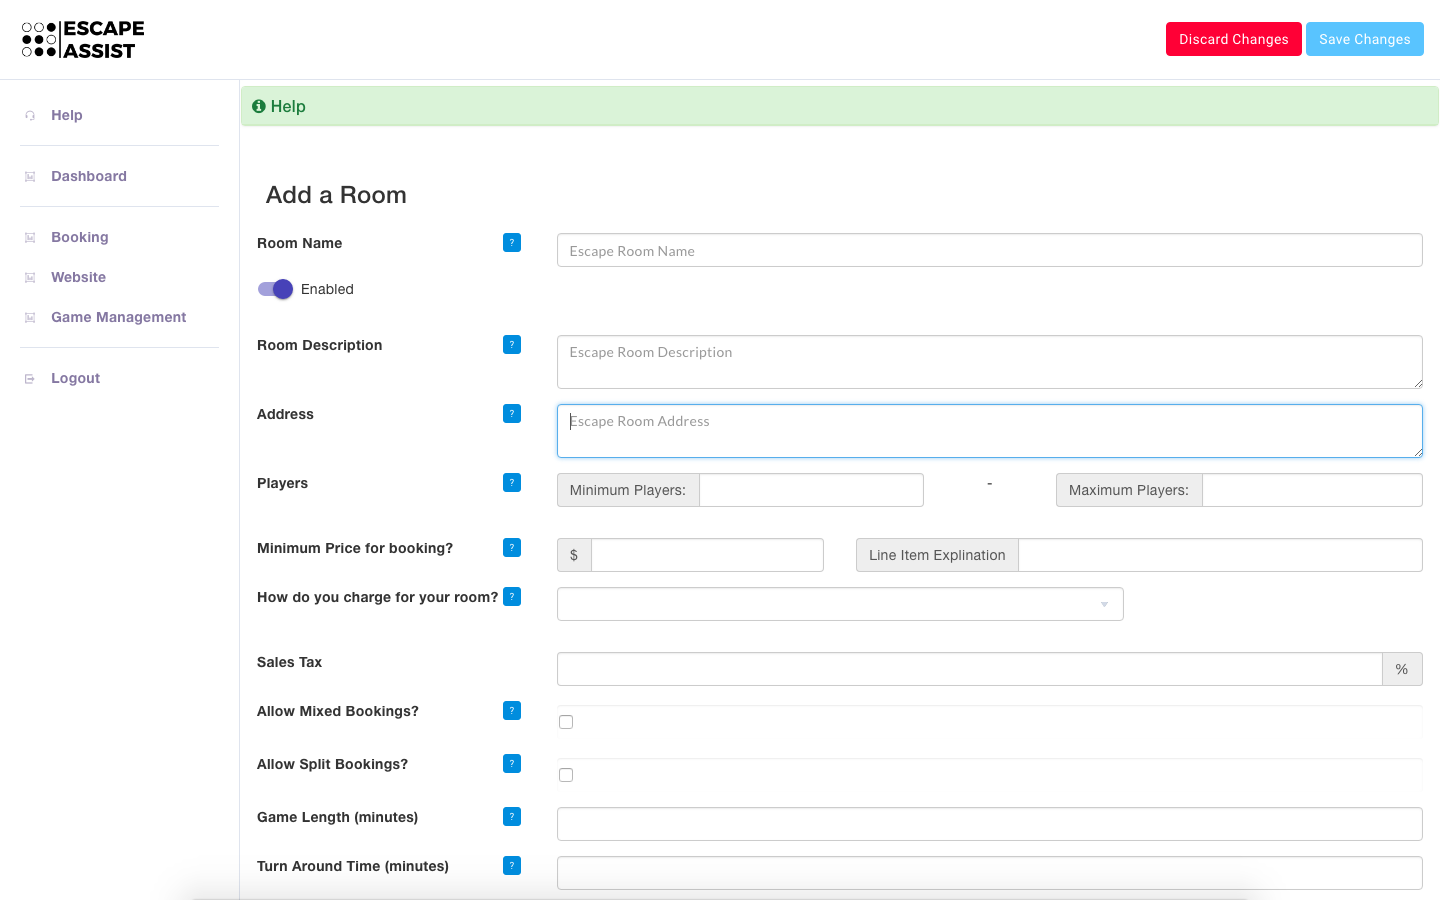
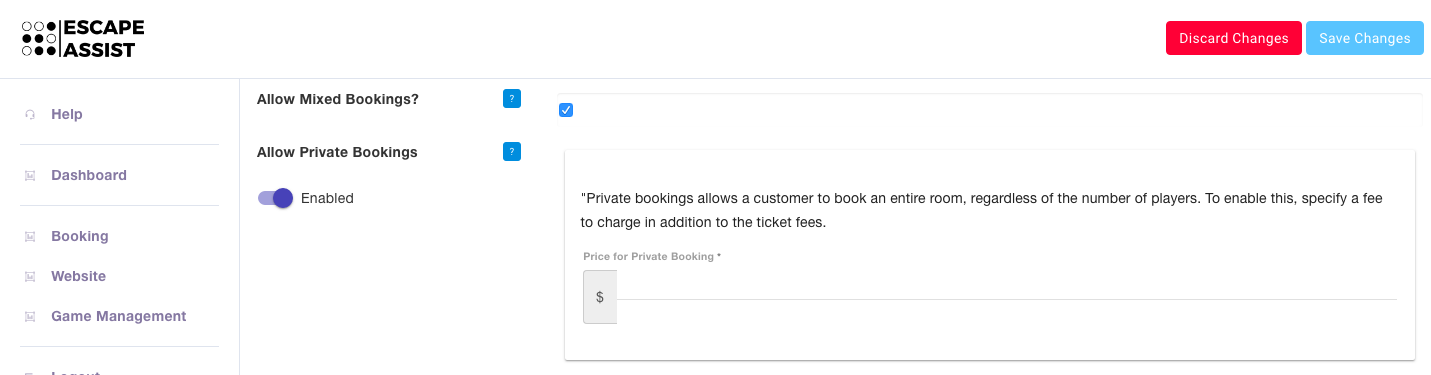
In this section, you can also choose to use (or not use) some of EscapeAssist's unique booking features. For example, you can also choose to have 1) only private rooms, 2) "Allow Mixed Bookings" (which means players may be teamed up with strangers) or 3) "Allow Private Bookings" with an extra fee.
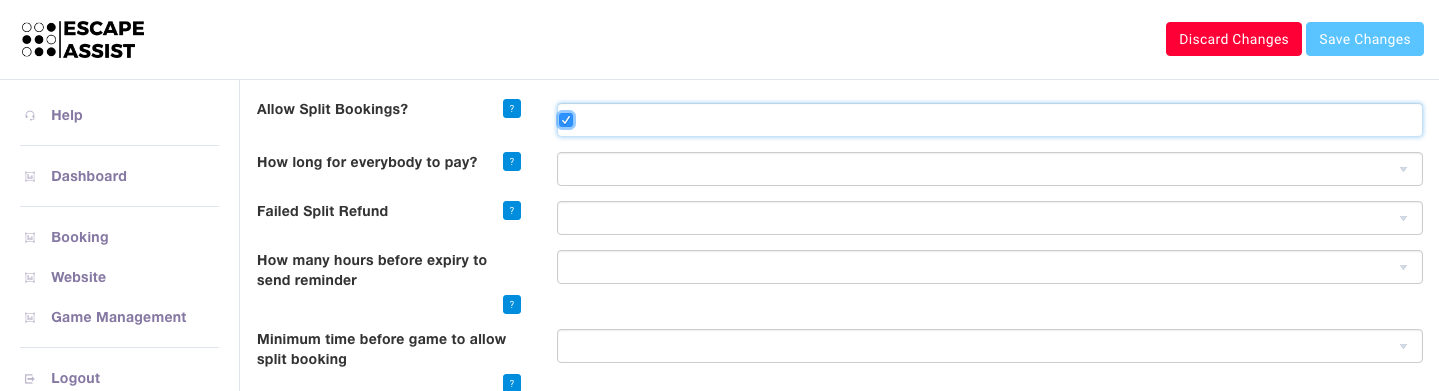
You can choose to "Allow Split Bookings"---rather than one player paying for the whole team, he/she can split the booking and have each member of the team pay their own share. You need to decide how long you are going to wait for all team members to pay, how much of the deposit you will return if the entire team fails to pay, when to send split booking reminders, and how far in advance of a game you will allow split bookings.
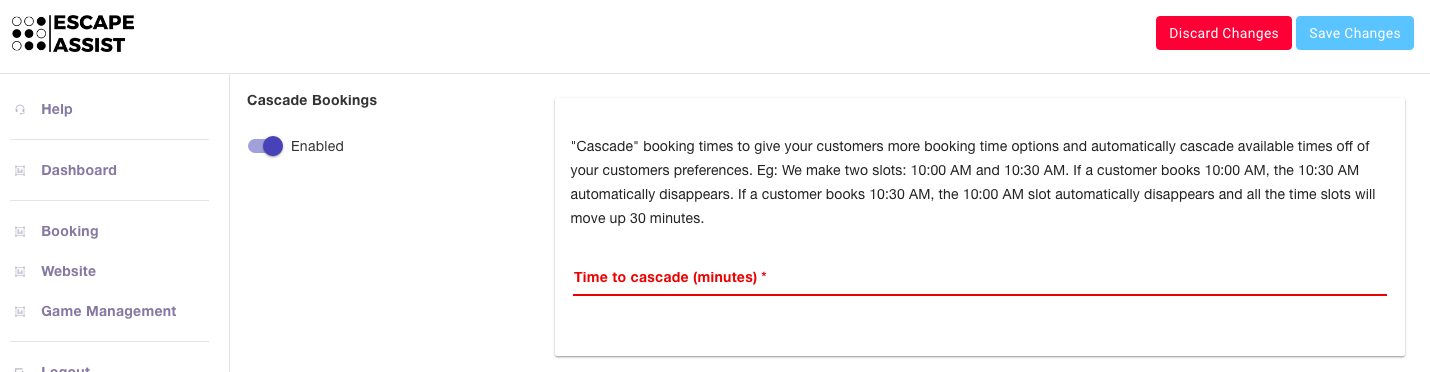
Another option is to "Cascade Bookings." This feature gives your customers more booking time options because it automatically cascades available times based on a customer's preference. Eg: You make two slots: 10:00 AM and 10:30 AM. If a customer prefers to book the 10:00 AM, the 10:30 AM automatically disappears. If a customer books 10:30 AM, the 10:00 AM slot automatically disappears and all the time slots will move up 30 minutes. You simply need to set your desired "Time to cascade."
Finally, save your changes to your Rooms section, and then put the finishing touch by adding a photo of your room.
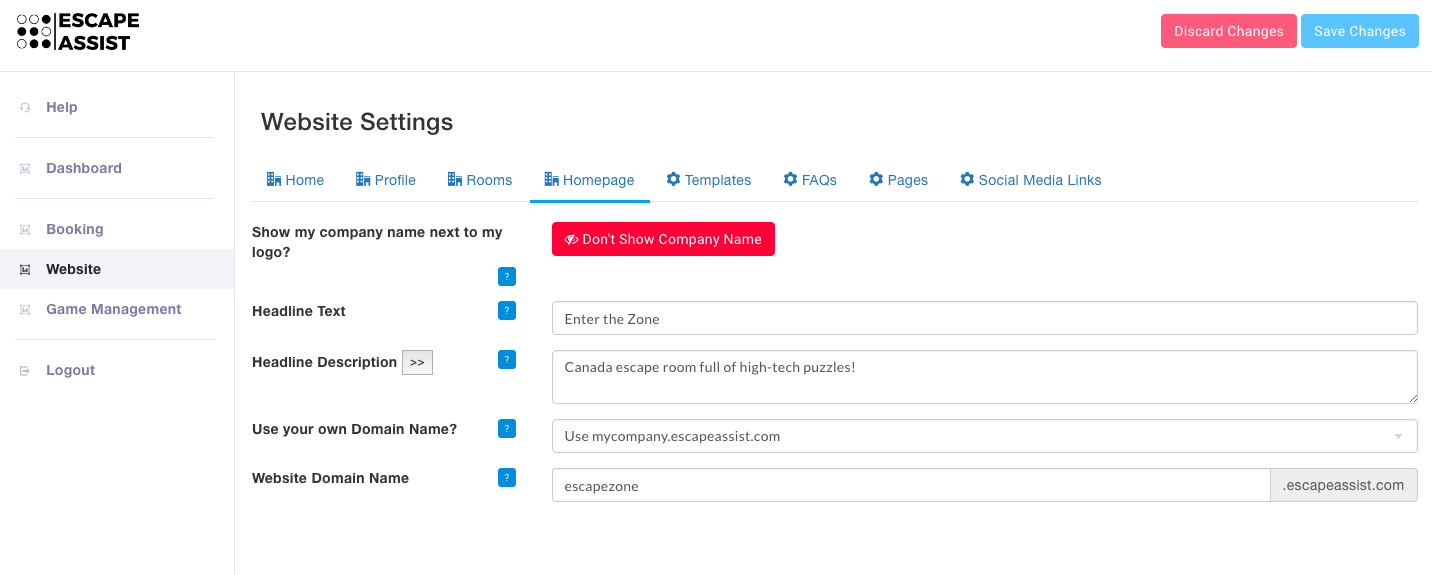
4) In the Homepage section, you can insert your homepage content. The “headline text” is the main headline on your homepage to grab your audience, such as “London’s first escape room in a historic castle.” The “headline description” provides a more detailed description–and if you hit the double arrow (>>) EscapeAssist has pre-loaded a description of escape games. Finally, you have the option of using your own domain, or one at escapeassist.com
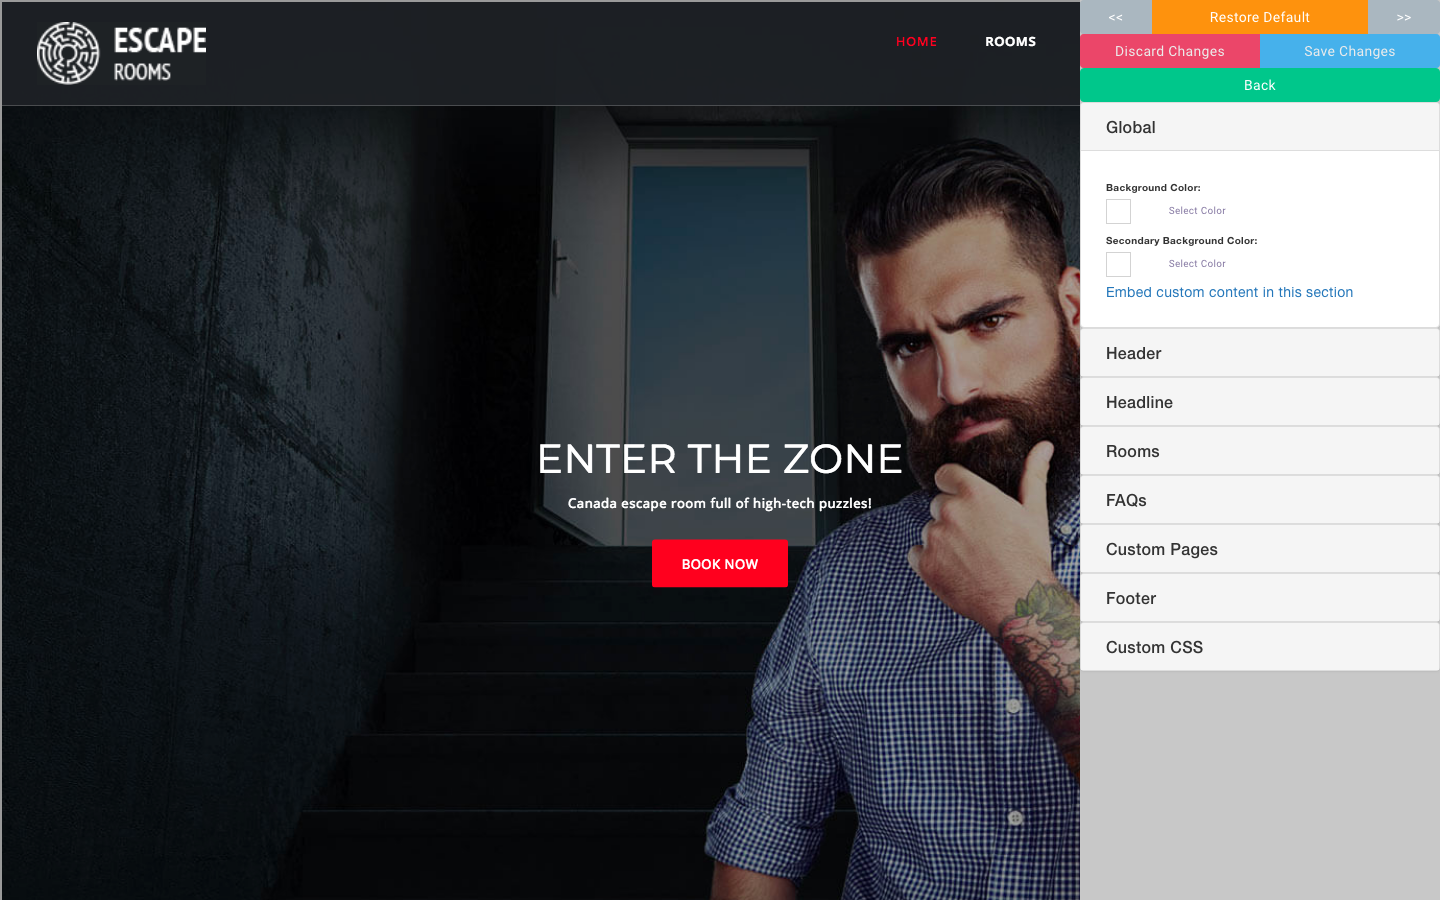
5) In the Templates section, choose a web template that has a suitable layout and hit "Save Changes" one you have made your choice. Next, start customizing it with the "Edit Template" button. In EscapeAssist's live editor you can insert images and change the color of the backgrounds/text for each section of your website.
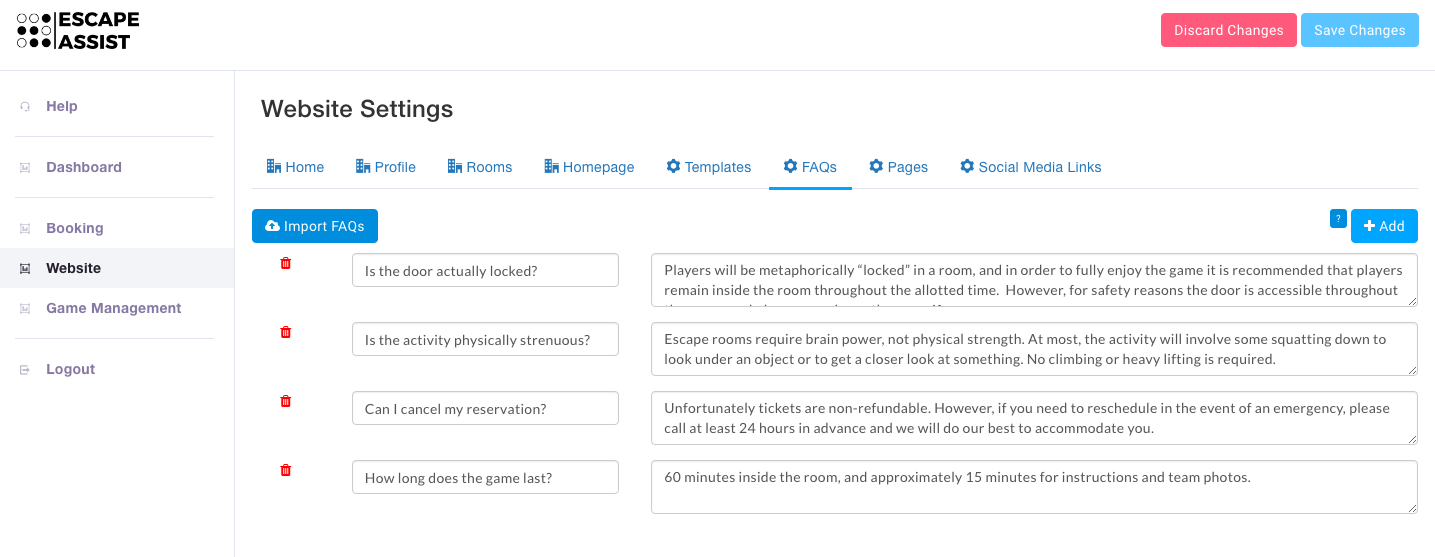
6) In the FAQs section, simply click the “Import FAQs” button and then customize everything to suit your needs. You can add or remove questions, or change the text of the questions/answers that we have pre-loaded.
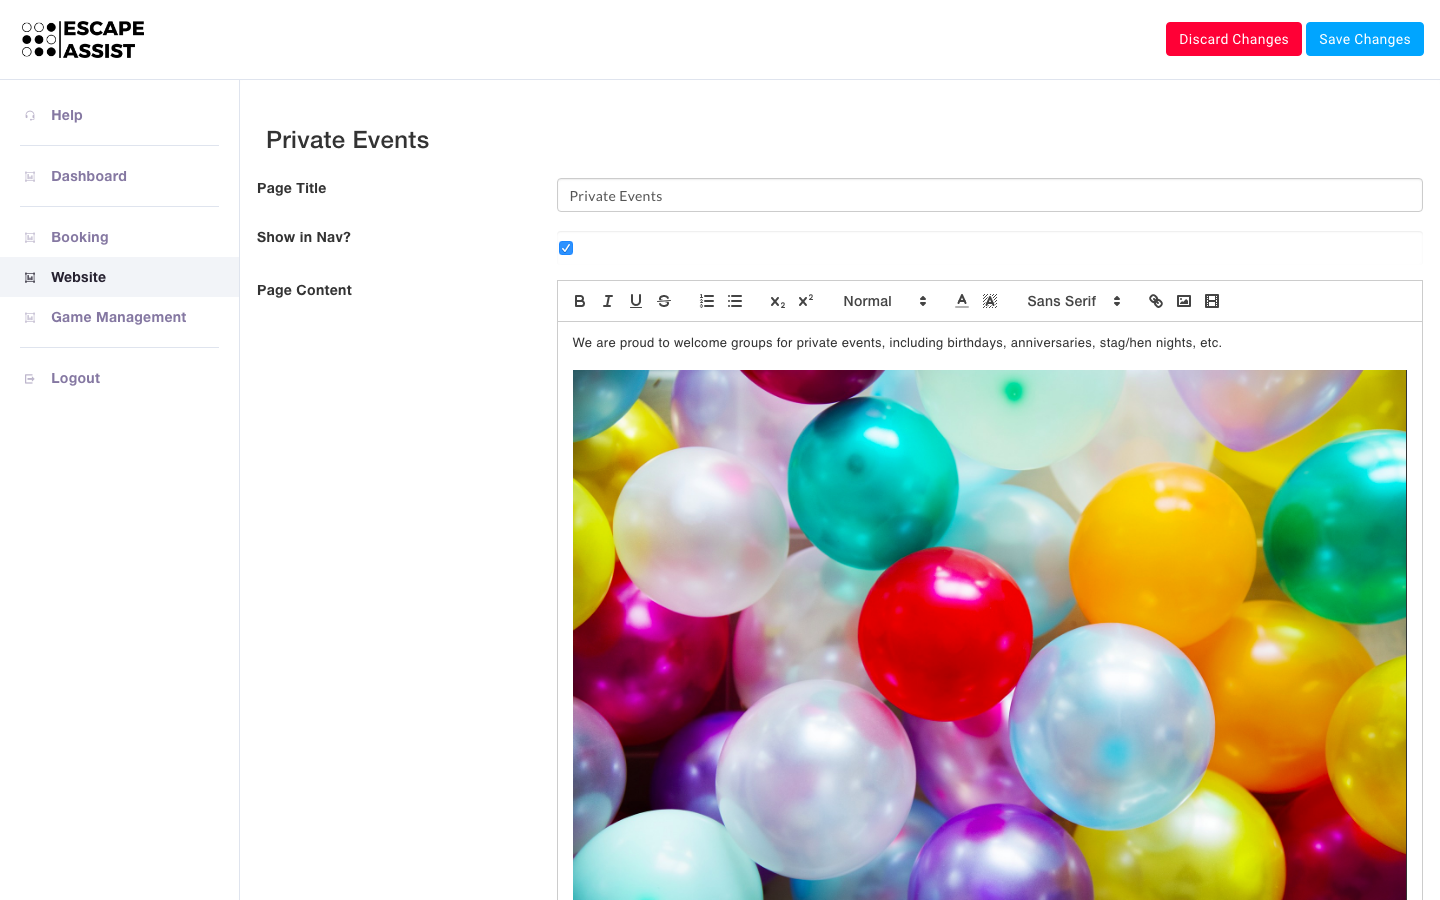
7) In the Pages section, you can add any special custom pages, such as an "events" page. Simply click the “Create New Page” button and insert your content into the simple drag and drop editor.
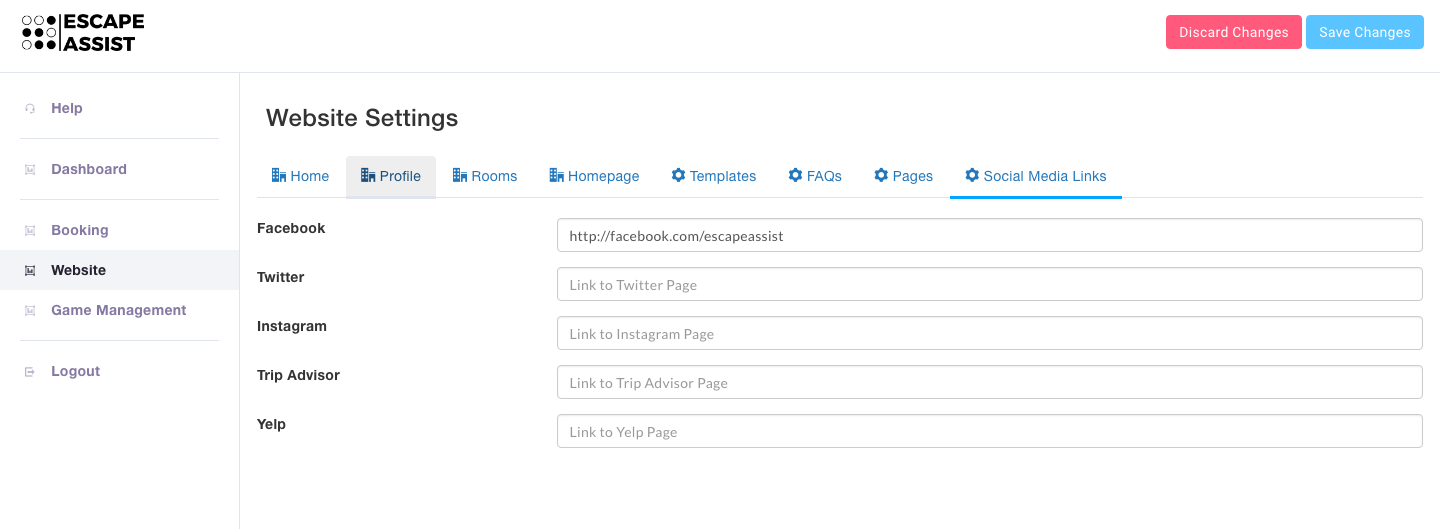
8) In the Social Media Links section you insert the html address for your company’s Facebook page, Twitter page, etc. and these links will appear on your website.